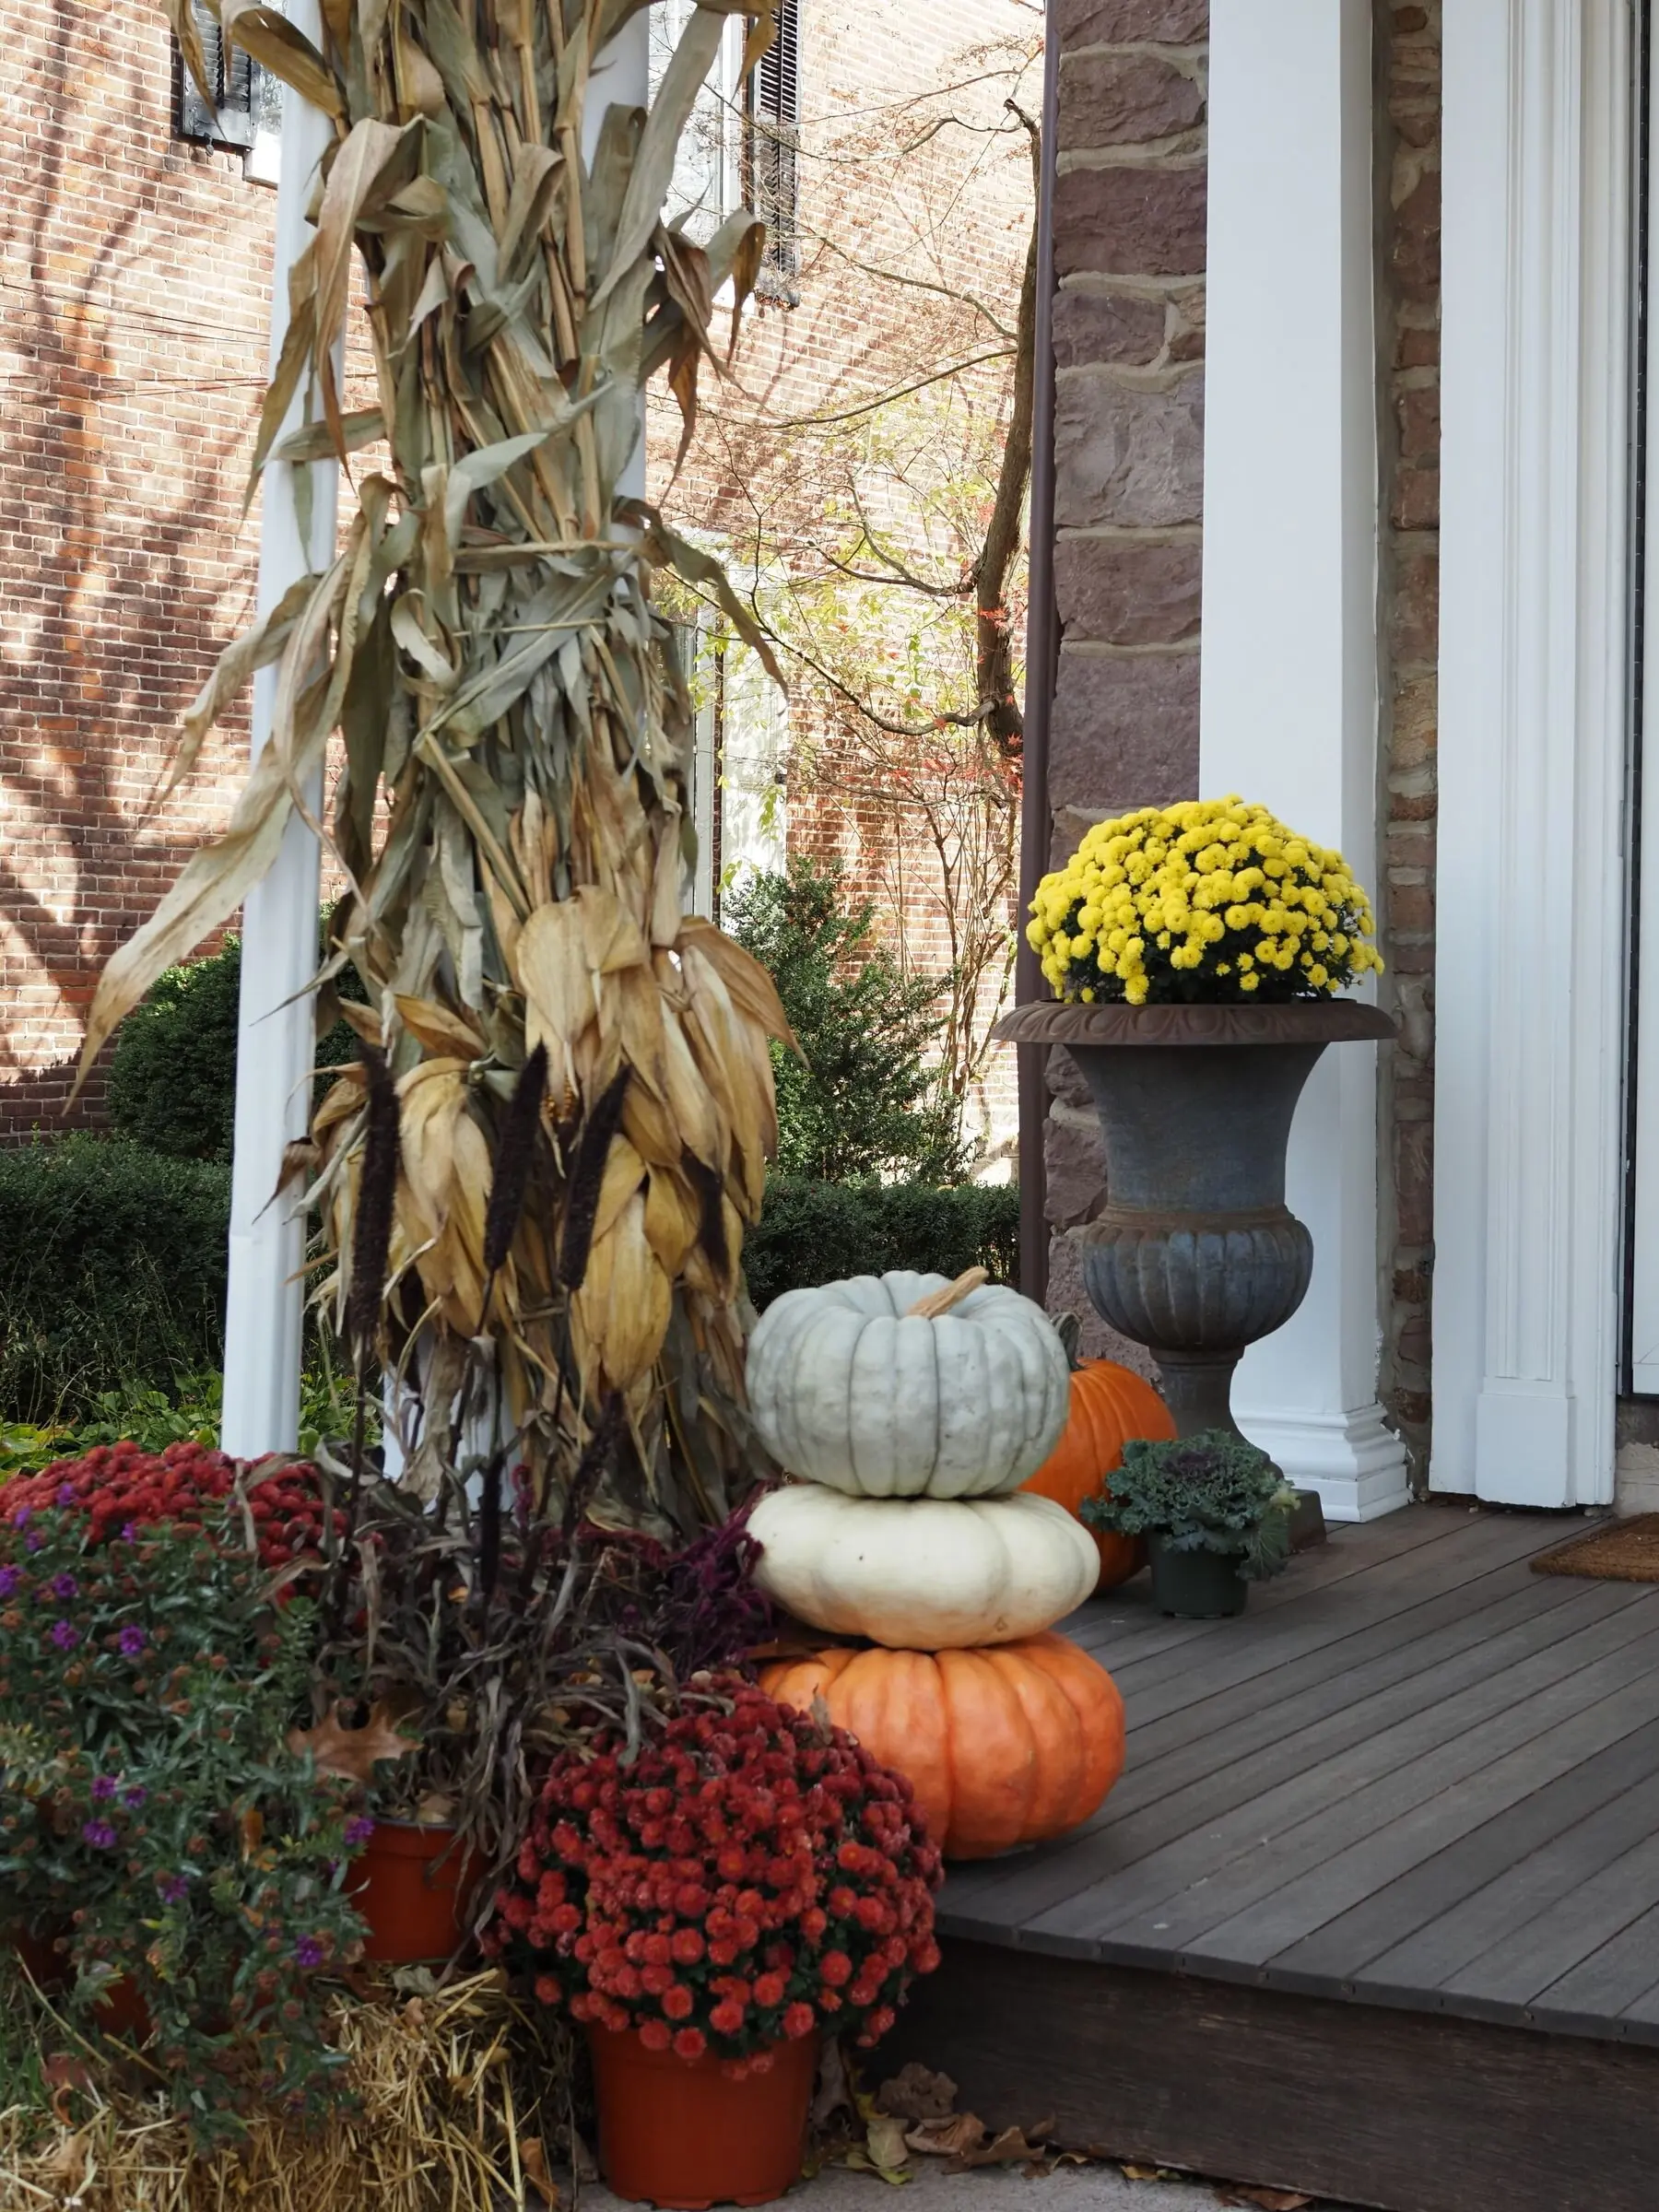
The pumpkins on the front steps looked perfect on Saturday. By Thursday, one has a soft spot near the bottom, and the jack-o’-lantern’s grin is starting to sag.
A pumpkin can last far longer than a week. Picked well and kept dry, a whole one can sit on the porch from the first cool week of fall to Thanksgiving. Even a carved one can hold its face through Halloween night.
Here’s how to choose a pumpkin that keeps, where to store and display it, and what actually helps a jack-o’-lantern last, plus why the bleach bath you see recommended everywhere isn’t worth it.
Choose a pumpkin that will keep
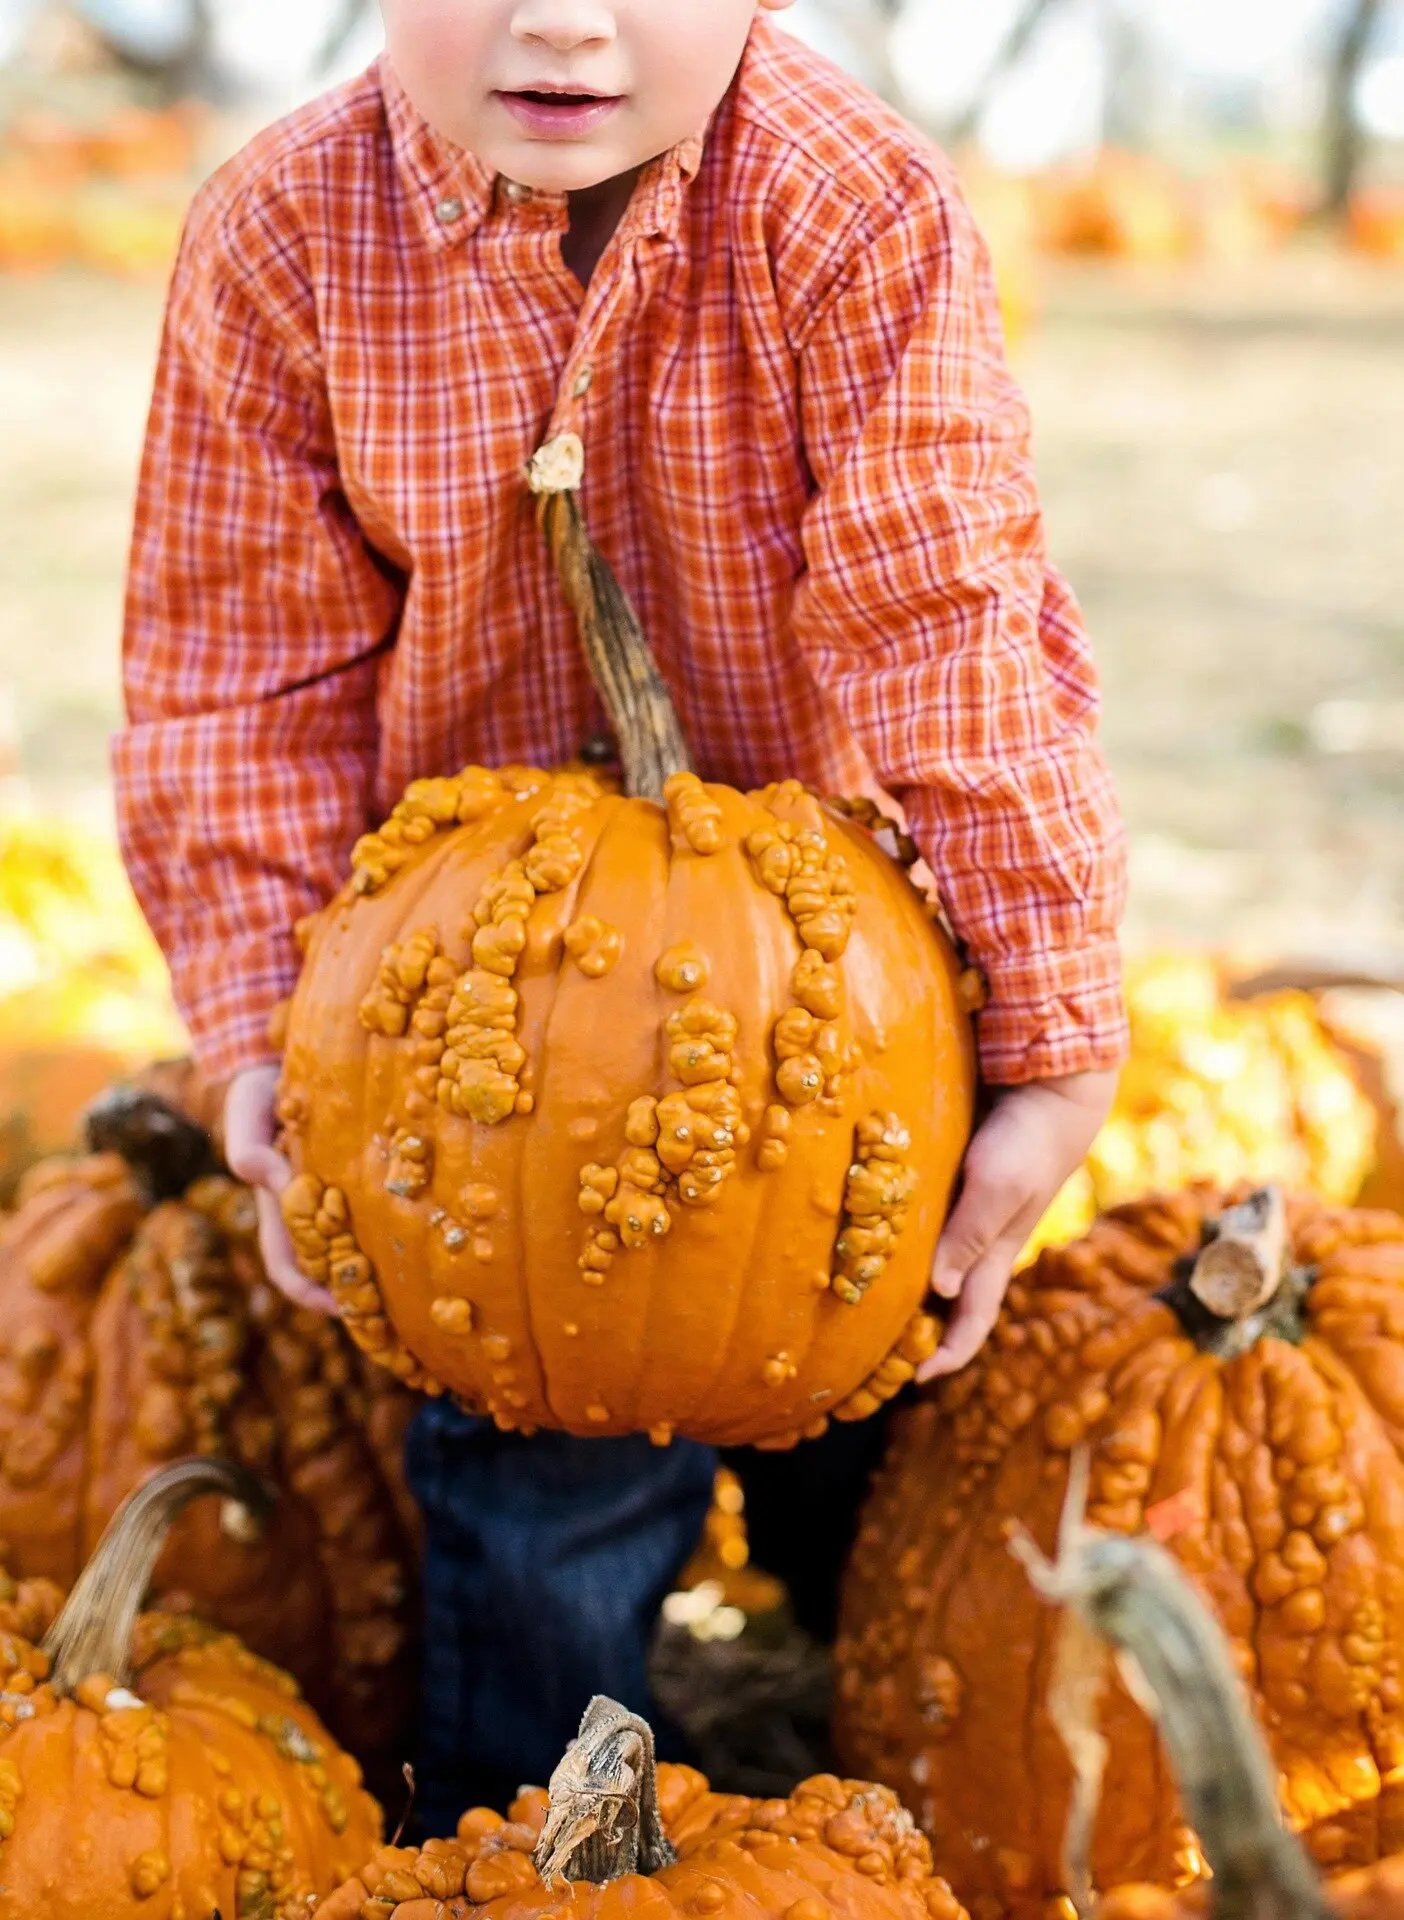
Press a fingernail into the rind: a ripe pumpkin is hard enough that it won’t dent. The stem should be dry and firm, and still attached.
The stem protects the top of the pumpkin. If it snaps partway, the stub still covers the top. If it comes off completely, it leaves an open spot where rot can start, according to University of Illinois Extension. So pass up stemless pumpkins for a display that needs to last weeks. One is fine for carving or cooking in the next few days. Once you bring a pumpkin home, carry it from the bottom, never by the stem.
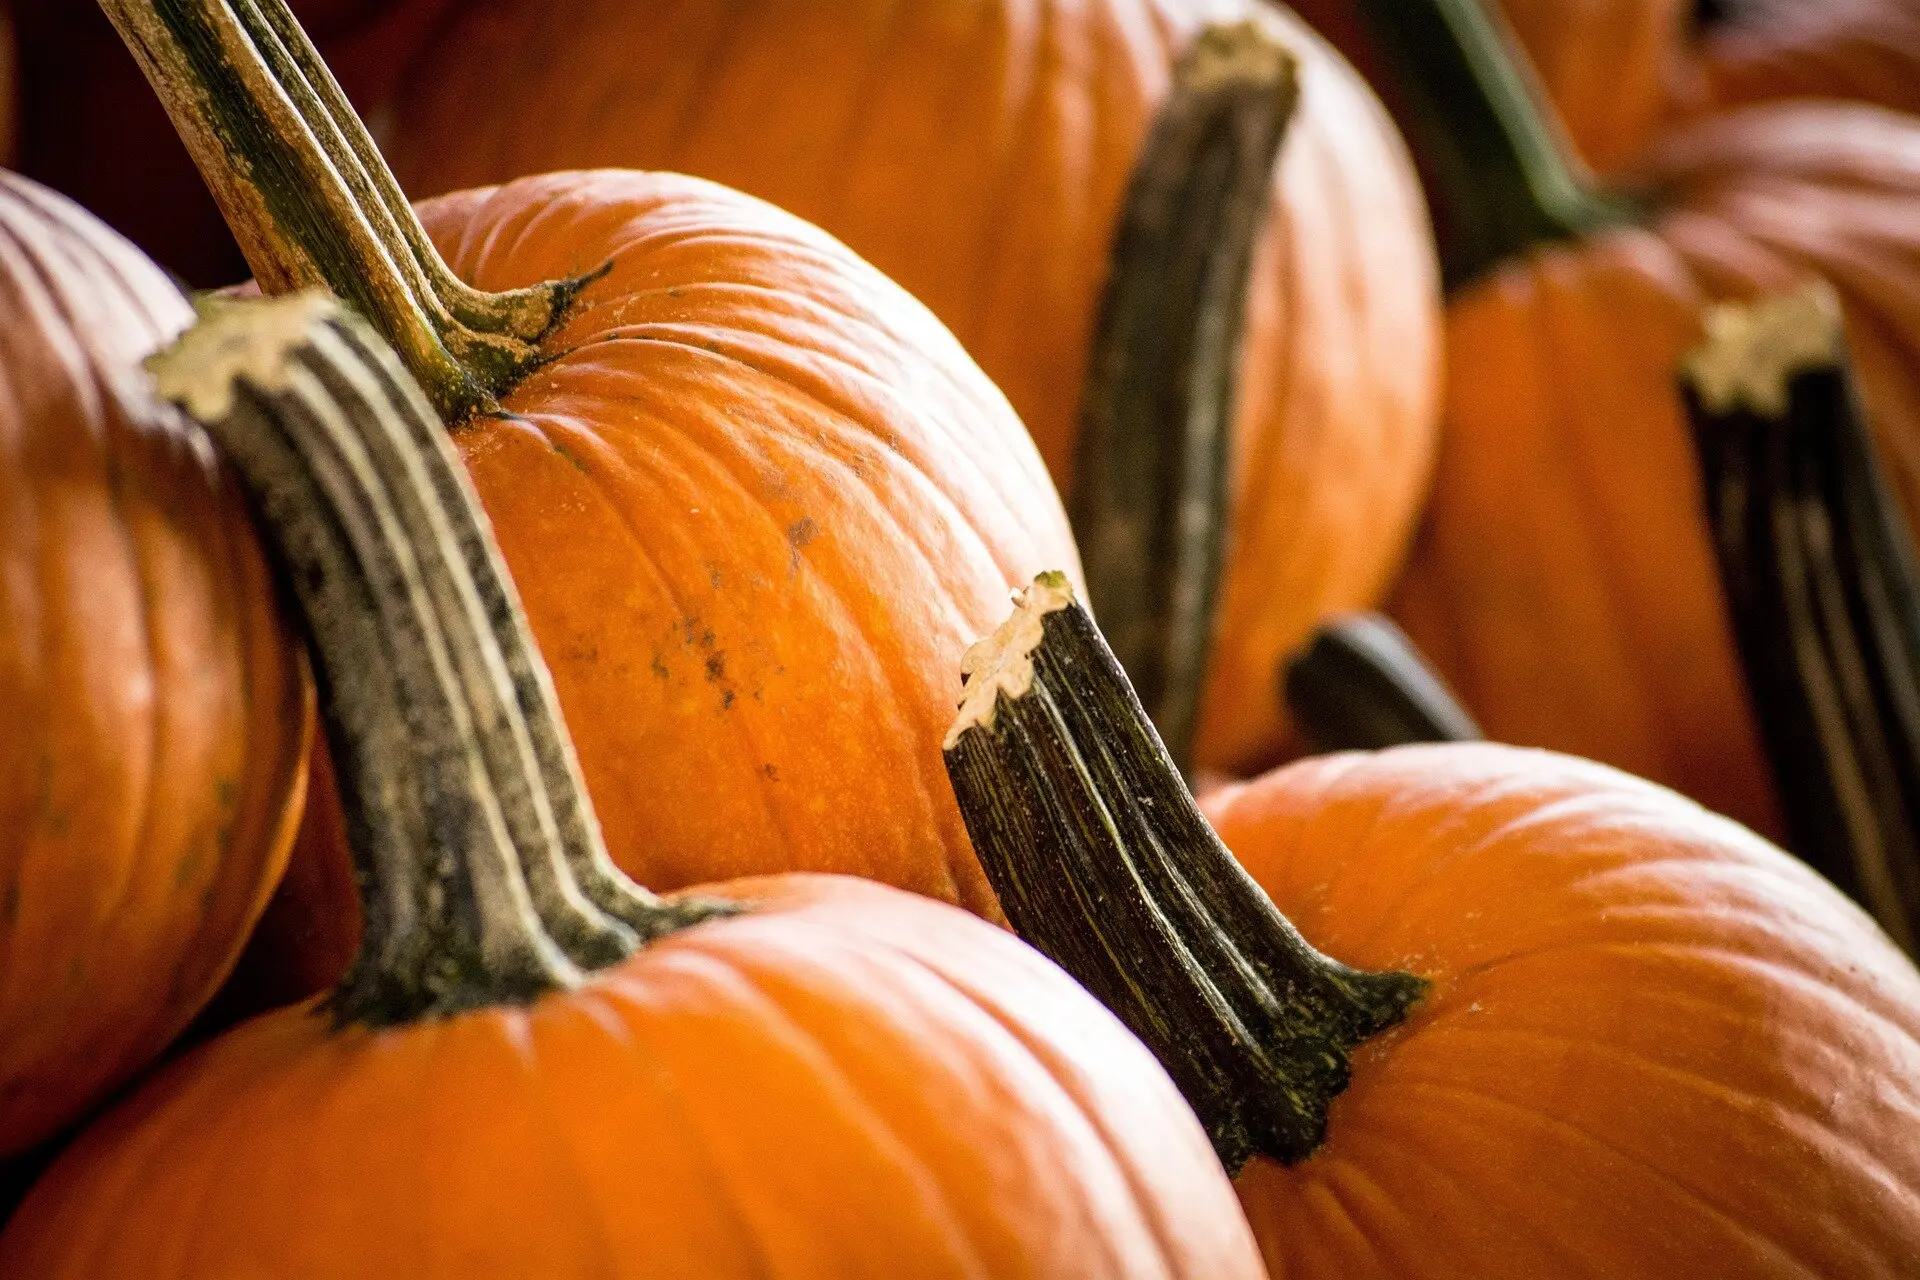
Turn the pumpkin over before you buy it. Skip any with soft spots, cuts, or bruises, since that’s where decay starts. A flat bottom helps, too, so it sits steady on the step instead of rocking.
If you grow your own, cure them first
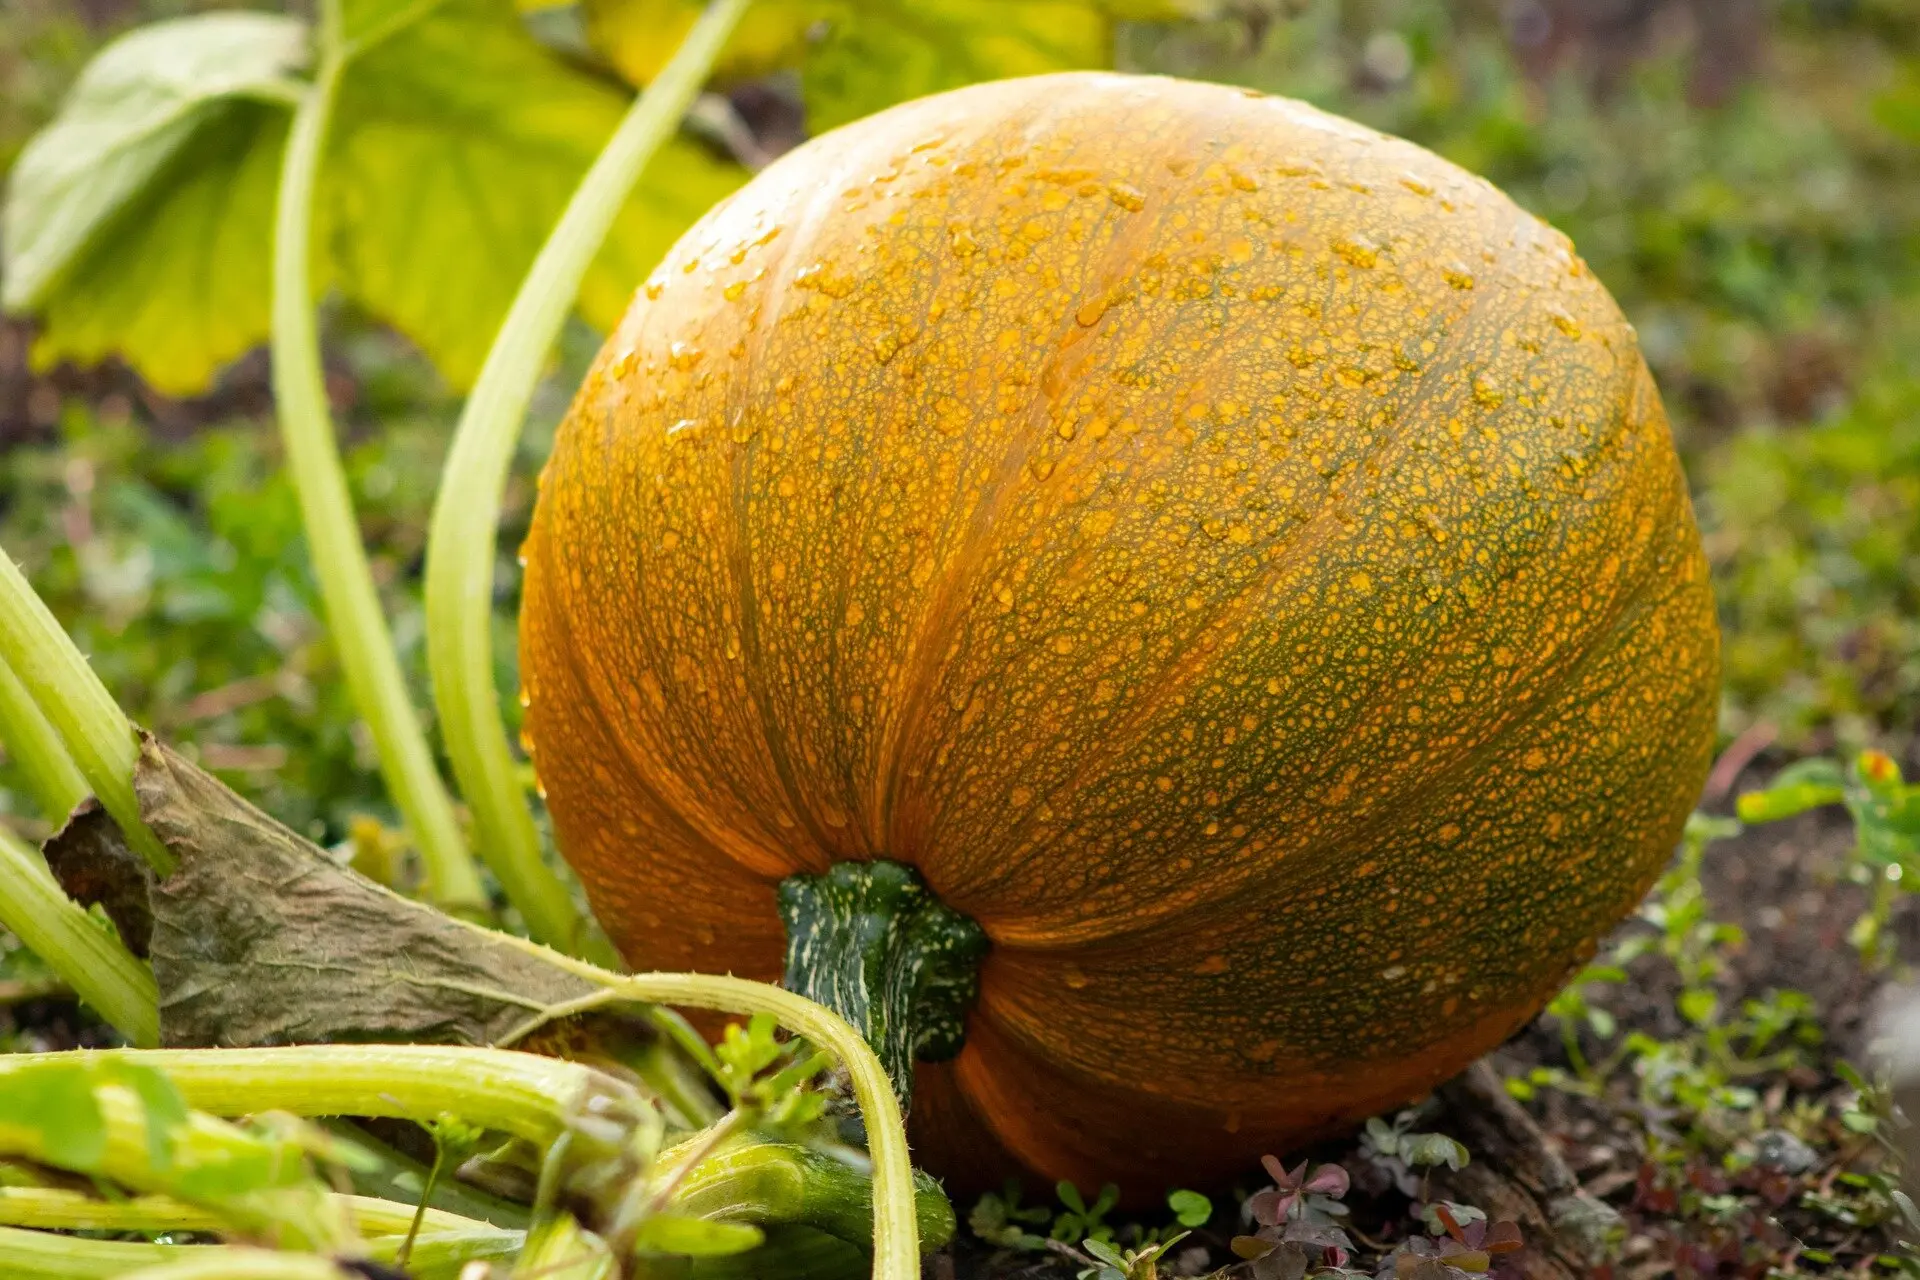
Pick homegrown pumpkins when the rind is hard and the color is even, ideally while the vines are still mostly green. If powdery mildew, the white, dusty coating on the leaves, kills the vines early, the pumpkins lose their shade and the stems weaken, so harvest them then instead of waiting, University of Maryland Extension advises. Cut them from the vine with pruners, leaving a few inches of stem, and finish before the first hard freeze. A light frost won’t hurt them, but a hard freeze breaks down the flesh.
Then let them cure. Iowa State University Extension and Outreach recommends 80°F to 85°F with about 80% relative humidity for 10 days. Curing hardens the skin and heals small nicks from harvest. A sunny porch on a warm fall week works well. A cold garage does not.
Store whole pumpkins cool and dry
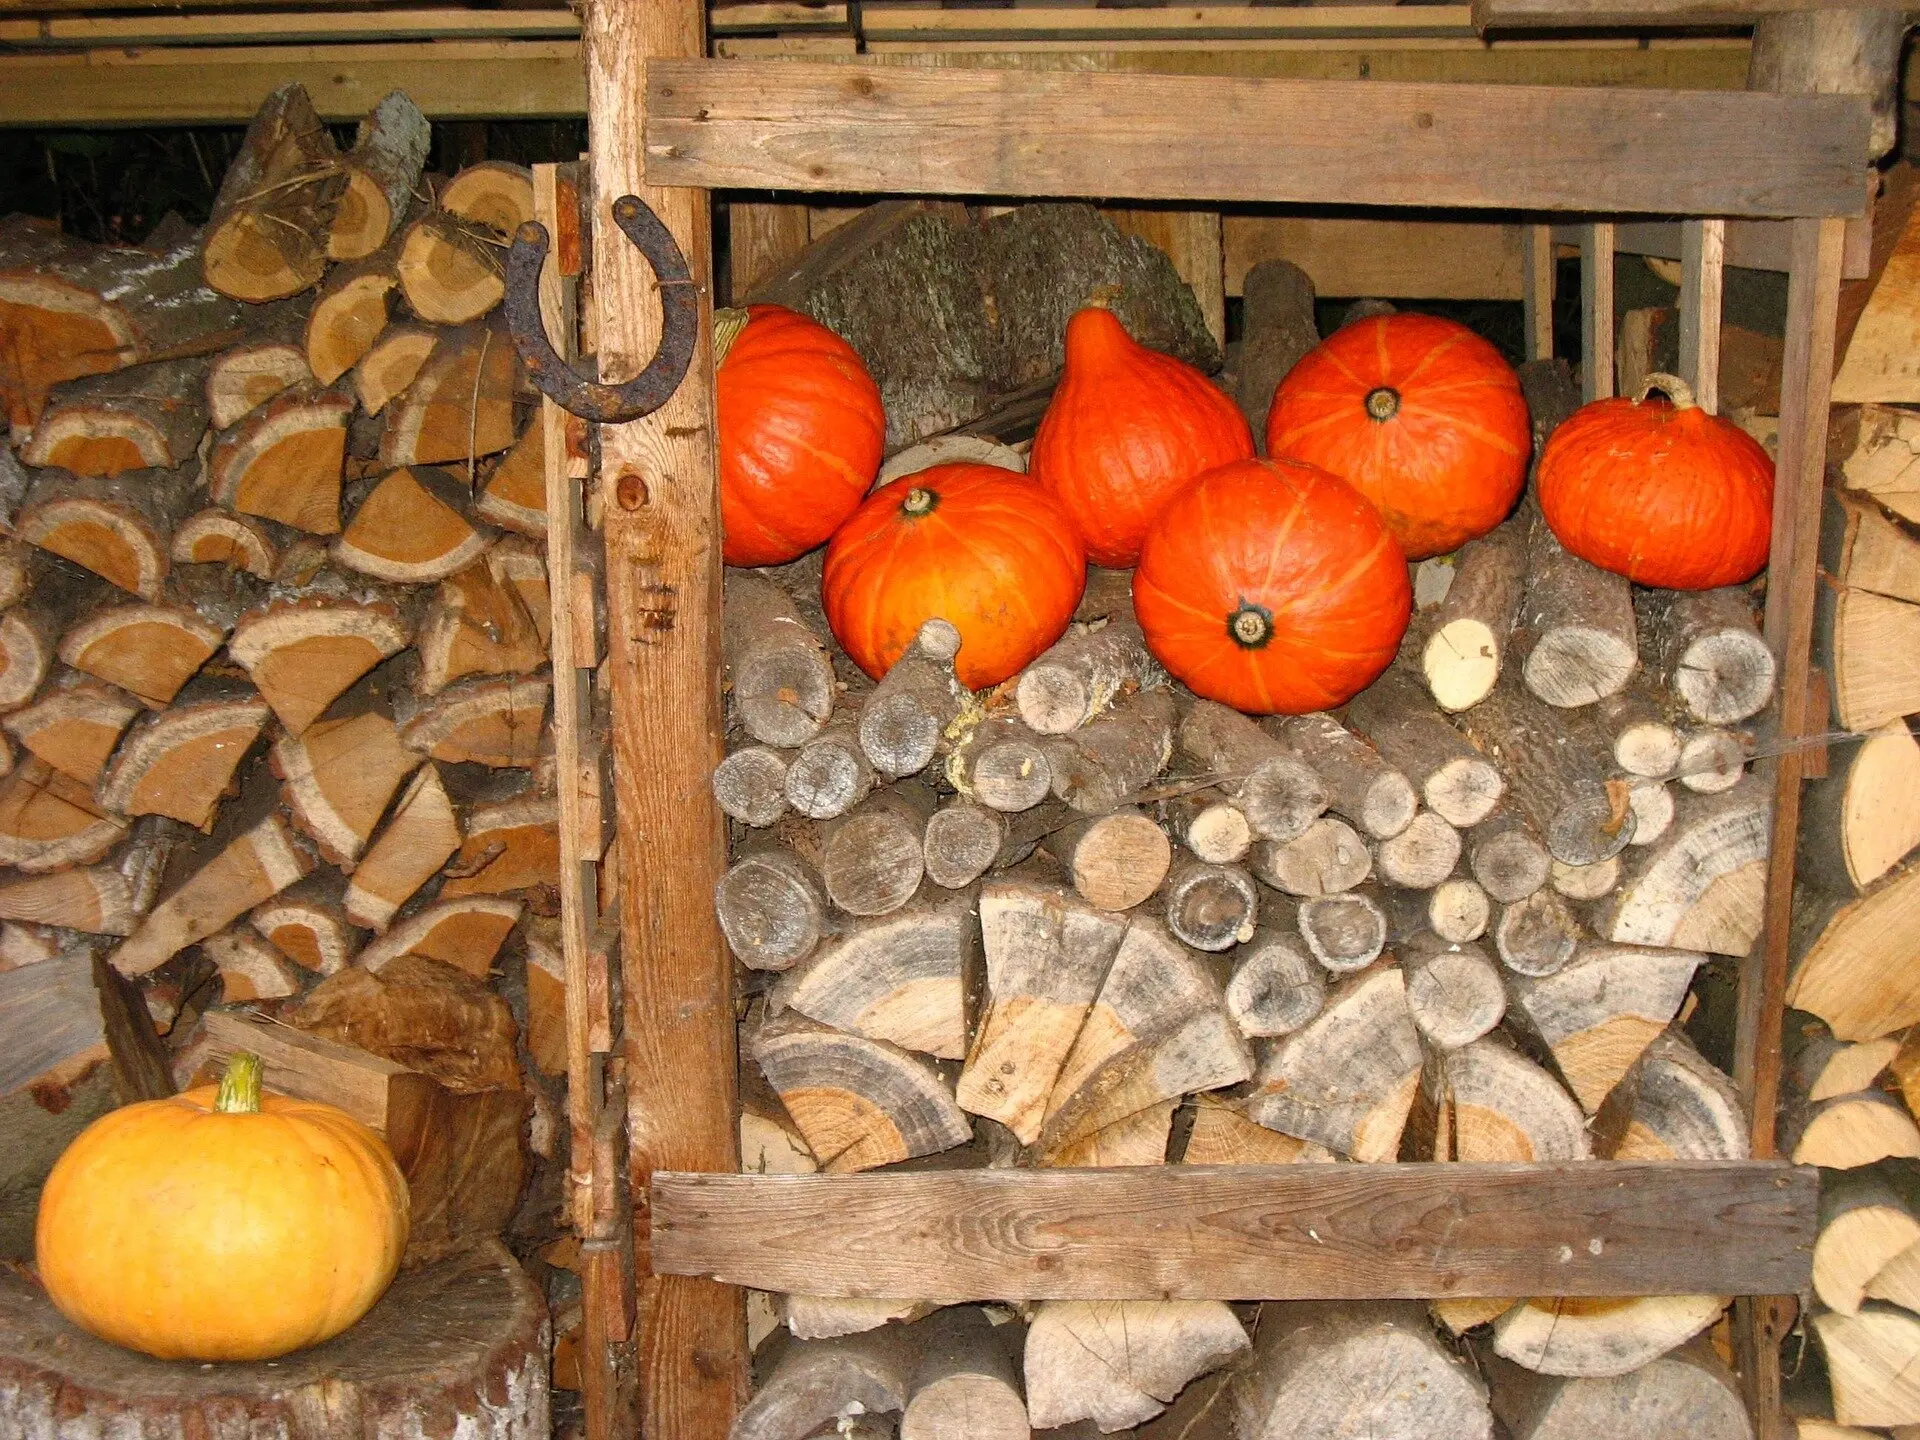
Once cured, or as soon as you bring them home from the farm stand, keep pumpkins somewhere cool, dark, dry, and airy. Aim for 50°F to 60°F with 50% to 70% humidity. A basement or an unheated spare room is ideal, as long as air can move around the pumpkins. In a damp, closed-up corner, moisture builds on the skin and mold follows.
Set them in a single row, not stacked, and keep them off bare concrete, which holds moisture against the bottom. A piece of cardboard, an old rug, a board, or a layer of straw is enough.
Keep them away from apples and pears. Ripening fruit gives off ethylene gas, which shortens a pumpkin’s storage life, Illinois Extension says. Stored this way, whole pumpkins can last two to six months, depending on the variety.
Keep porch pumpkins dry
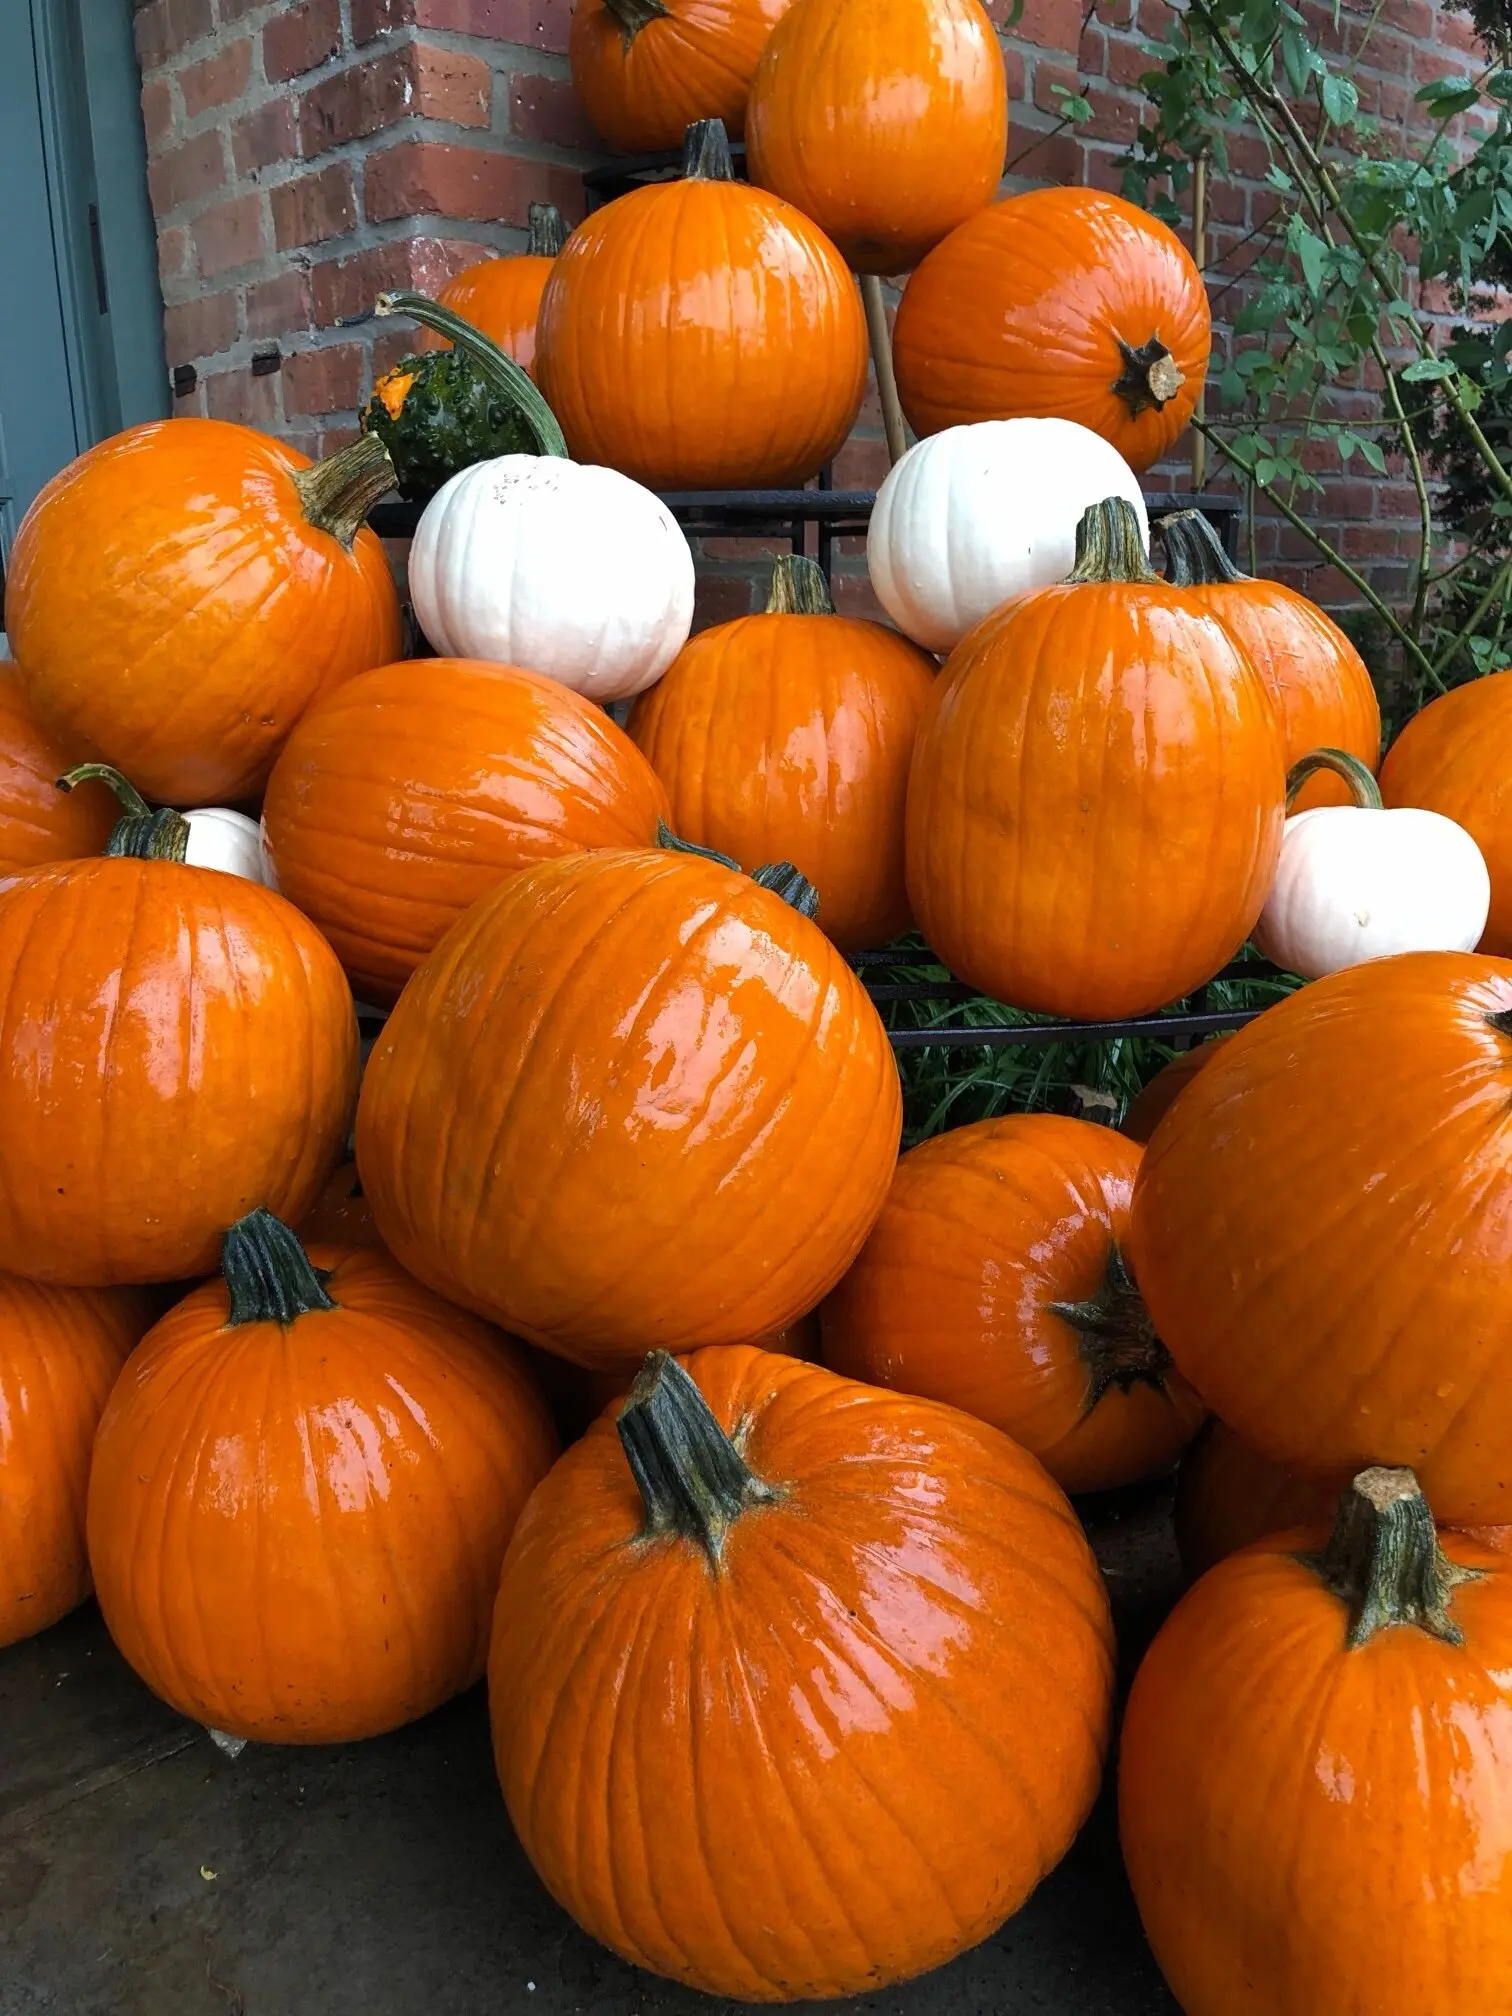
Outdoors, rain does the most damage. Give each pumpkin a dry seat: a doormat, a slice of wood, or a folded piece of cardboard you swap out after a soaking rain.
After a storm, check the dip around the stem. Rain pools there and softens the shoulder. Tip the pumpkin to drain it and blot it dry with an old towel.
Turn pumpkins every week or so, and move them out of strong afternoon sun, which bakes one side soft. On nights headed below freezing, bring them into the garage.
Wipe them down before you display them
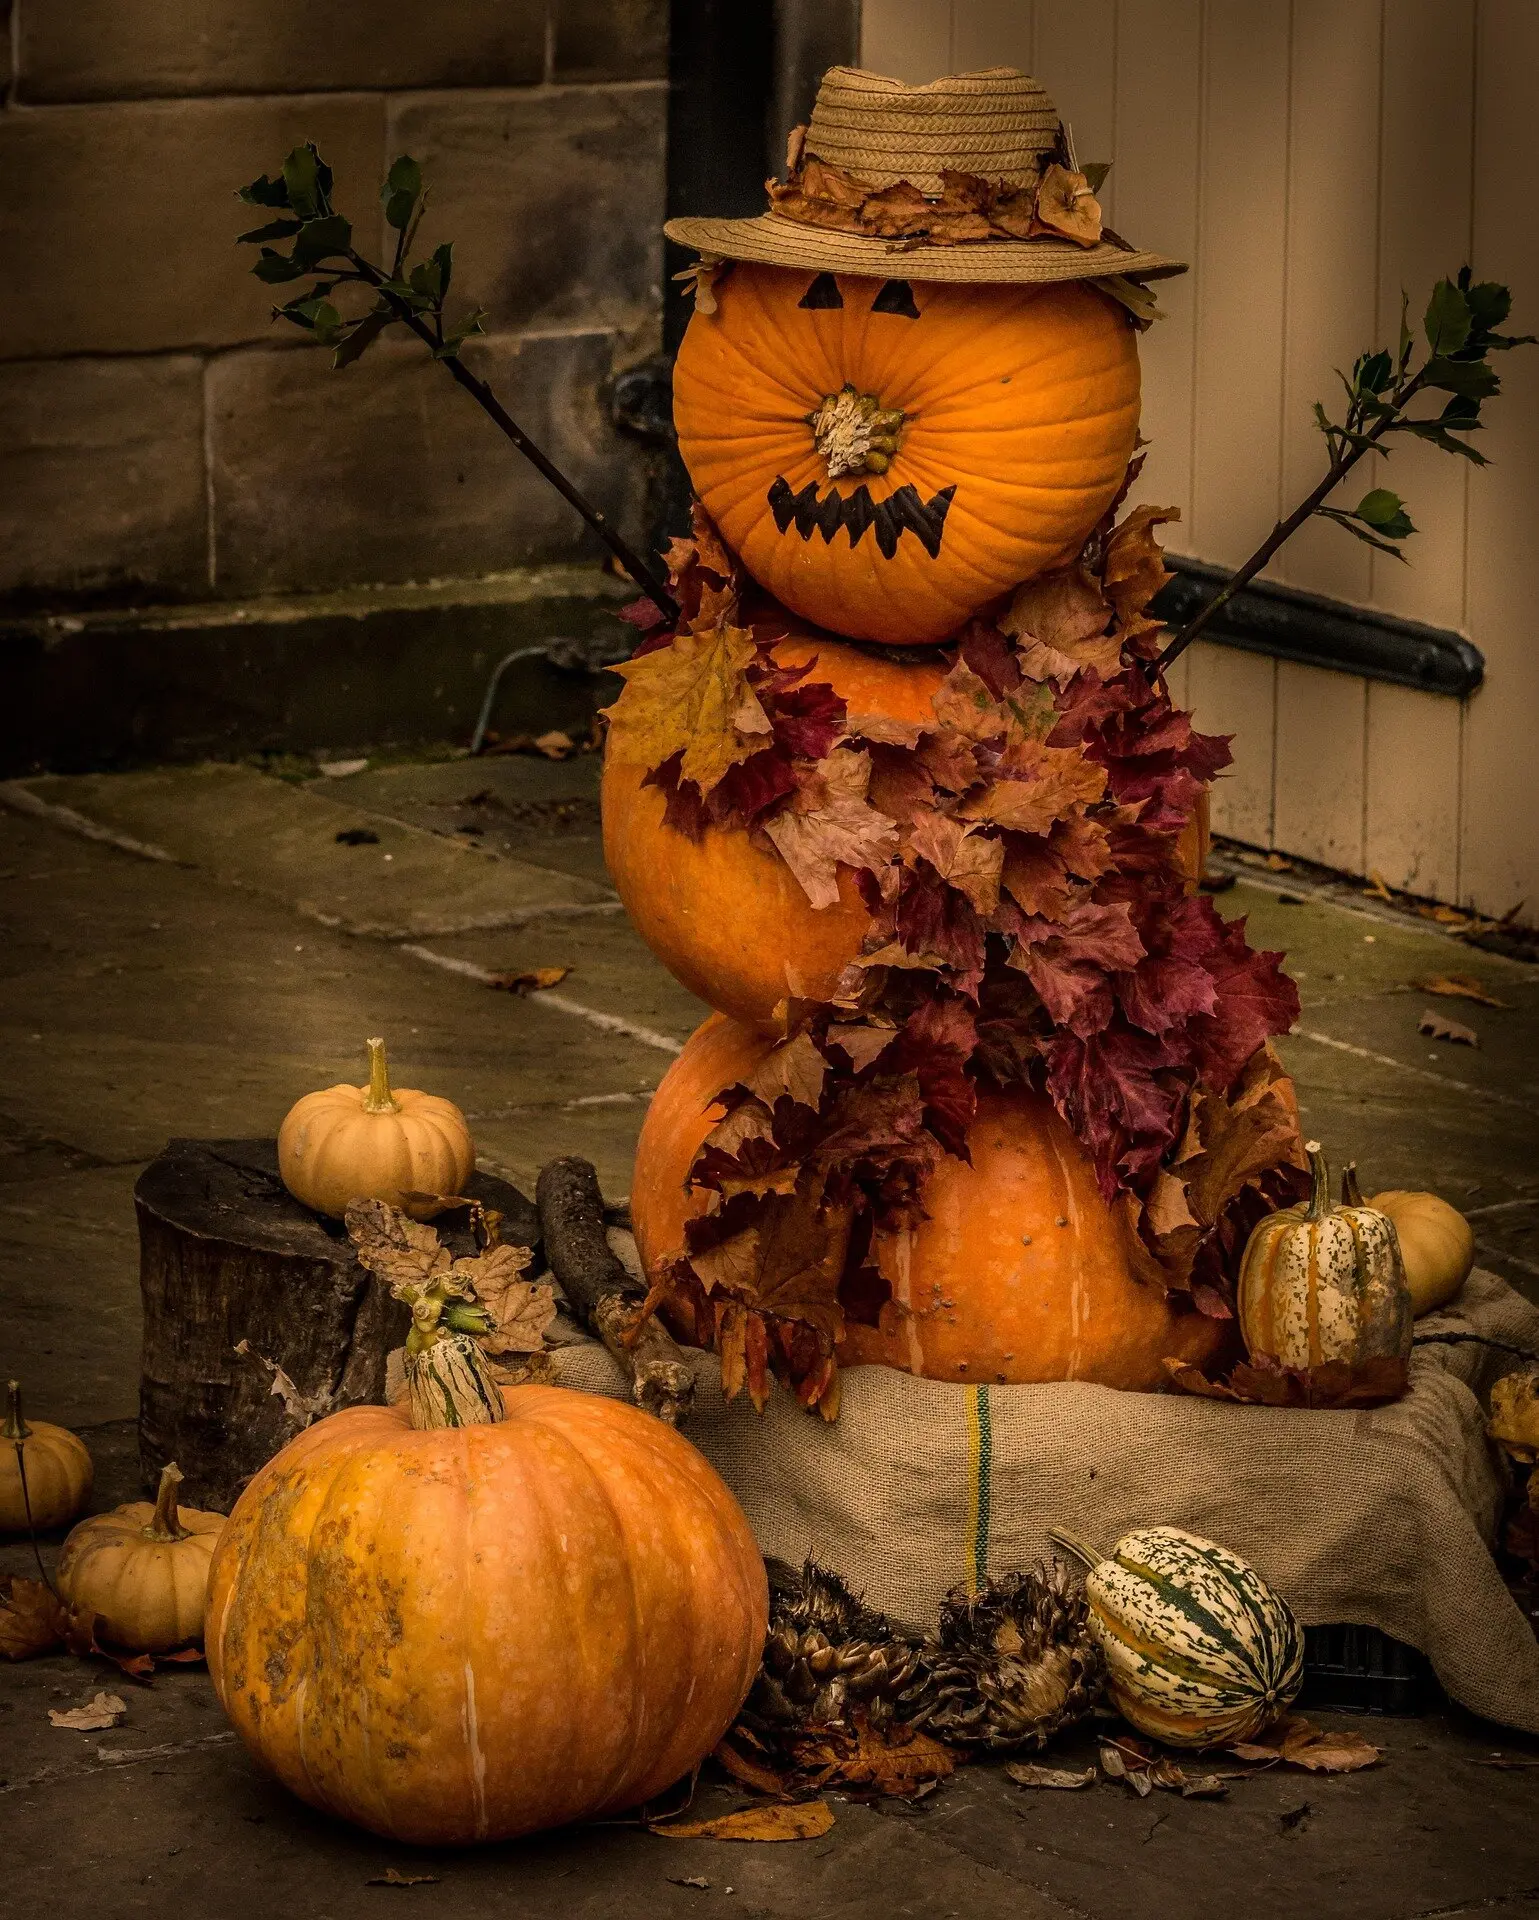
The skin of a pumpkin carries mold spores and bacteria from the field. Wiping it with a solution of 1 part bleach to 10 parts water kills what’s on the surface, according to Mississippi State University Extension Service. Wear gloves, work outdoors, and let the pumpkin air-dry before you set it out.
Skip the bleach on any pumpkin you plan to cook. Scrub that one under running water with a vegetable brush instead.
Vinegar is the gentler choice for a pumpkin headed to the compost pile later. Wash it with 10 parts water to 1 part white vinegar, NC State Extension suggests, and let it dry. A spray bottle of the same mix works between rains, too.
Carve as late as you can
The clock starts when the knife goes in. A carved pumpkin lasts about 7 to 10 days, depending on the weather, according to Illinois Extension. Carve during the last week of October, ideally two or three days before Halloween.
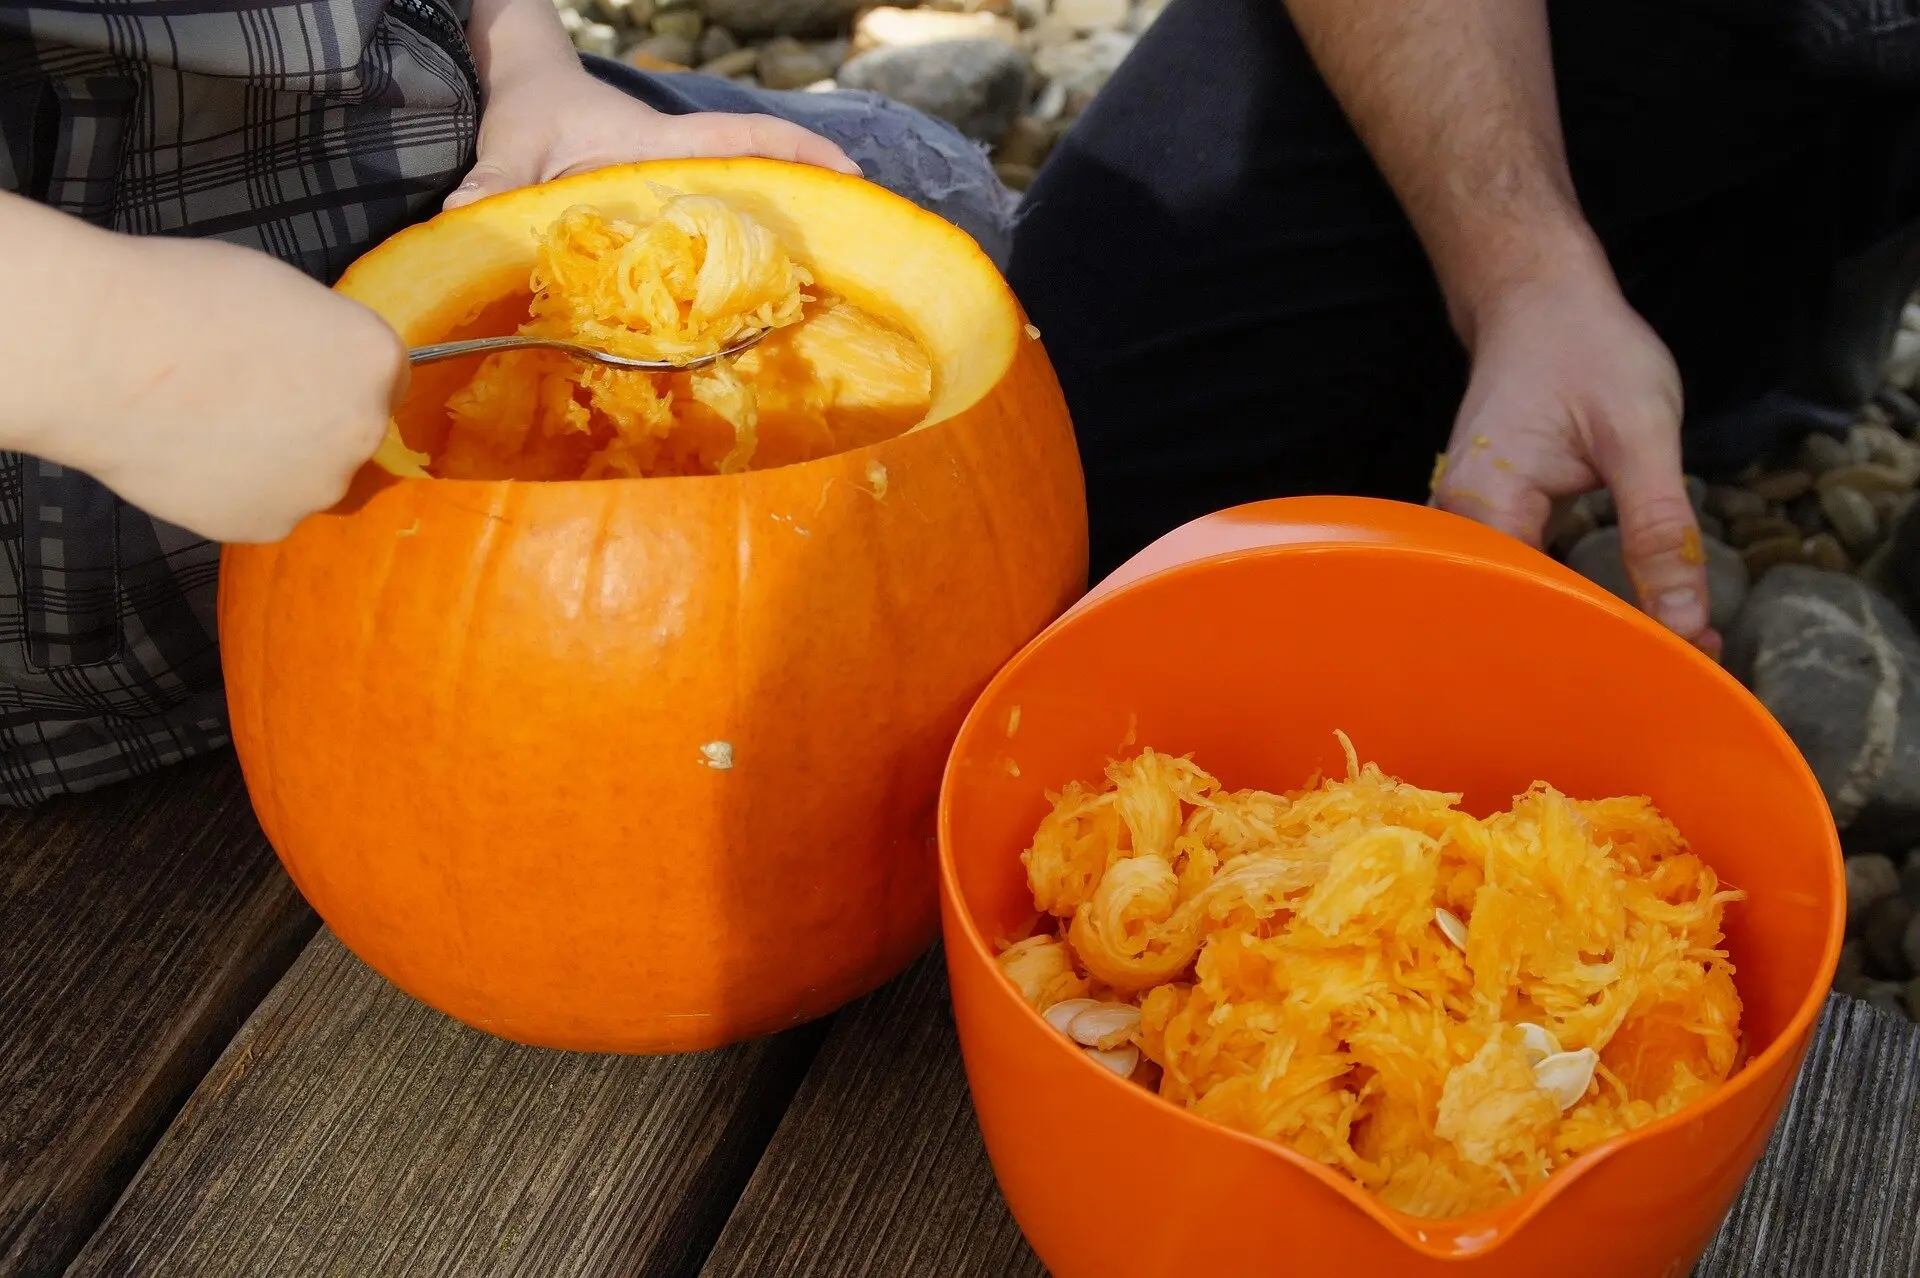
Scrape the inside clean. Stringy bits left on the walls are the first things to mold. Cut the lid from the back or the bottom instead of around the stem, and the stem stays attached.
Safety first
Carve with slow, short strokes, cutting away from your body. Little ones can draw the face and scoop the seeds while a grown-up handles the knife.
Seal the cut edges
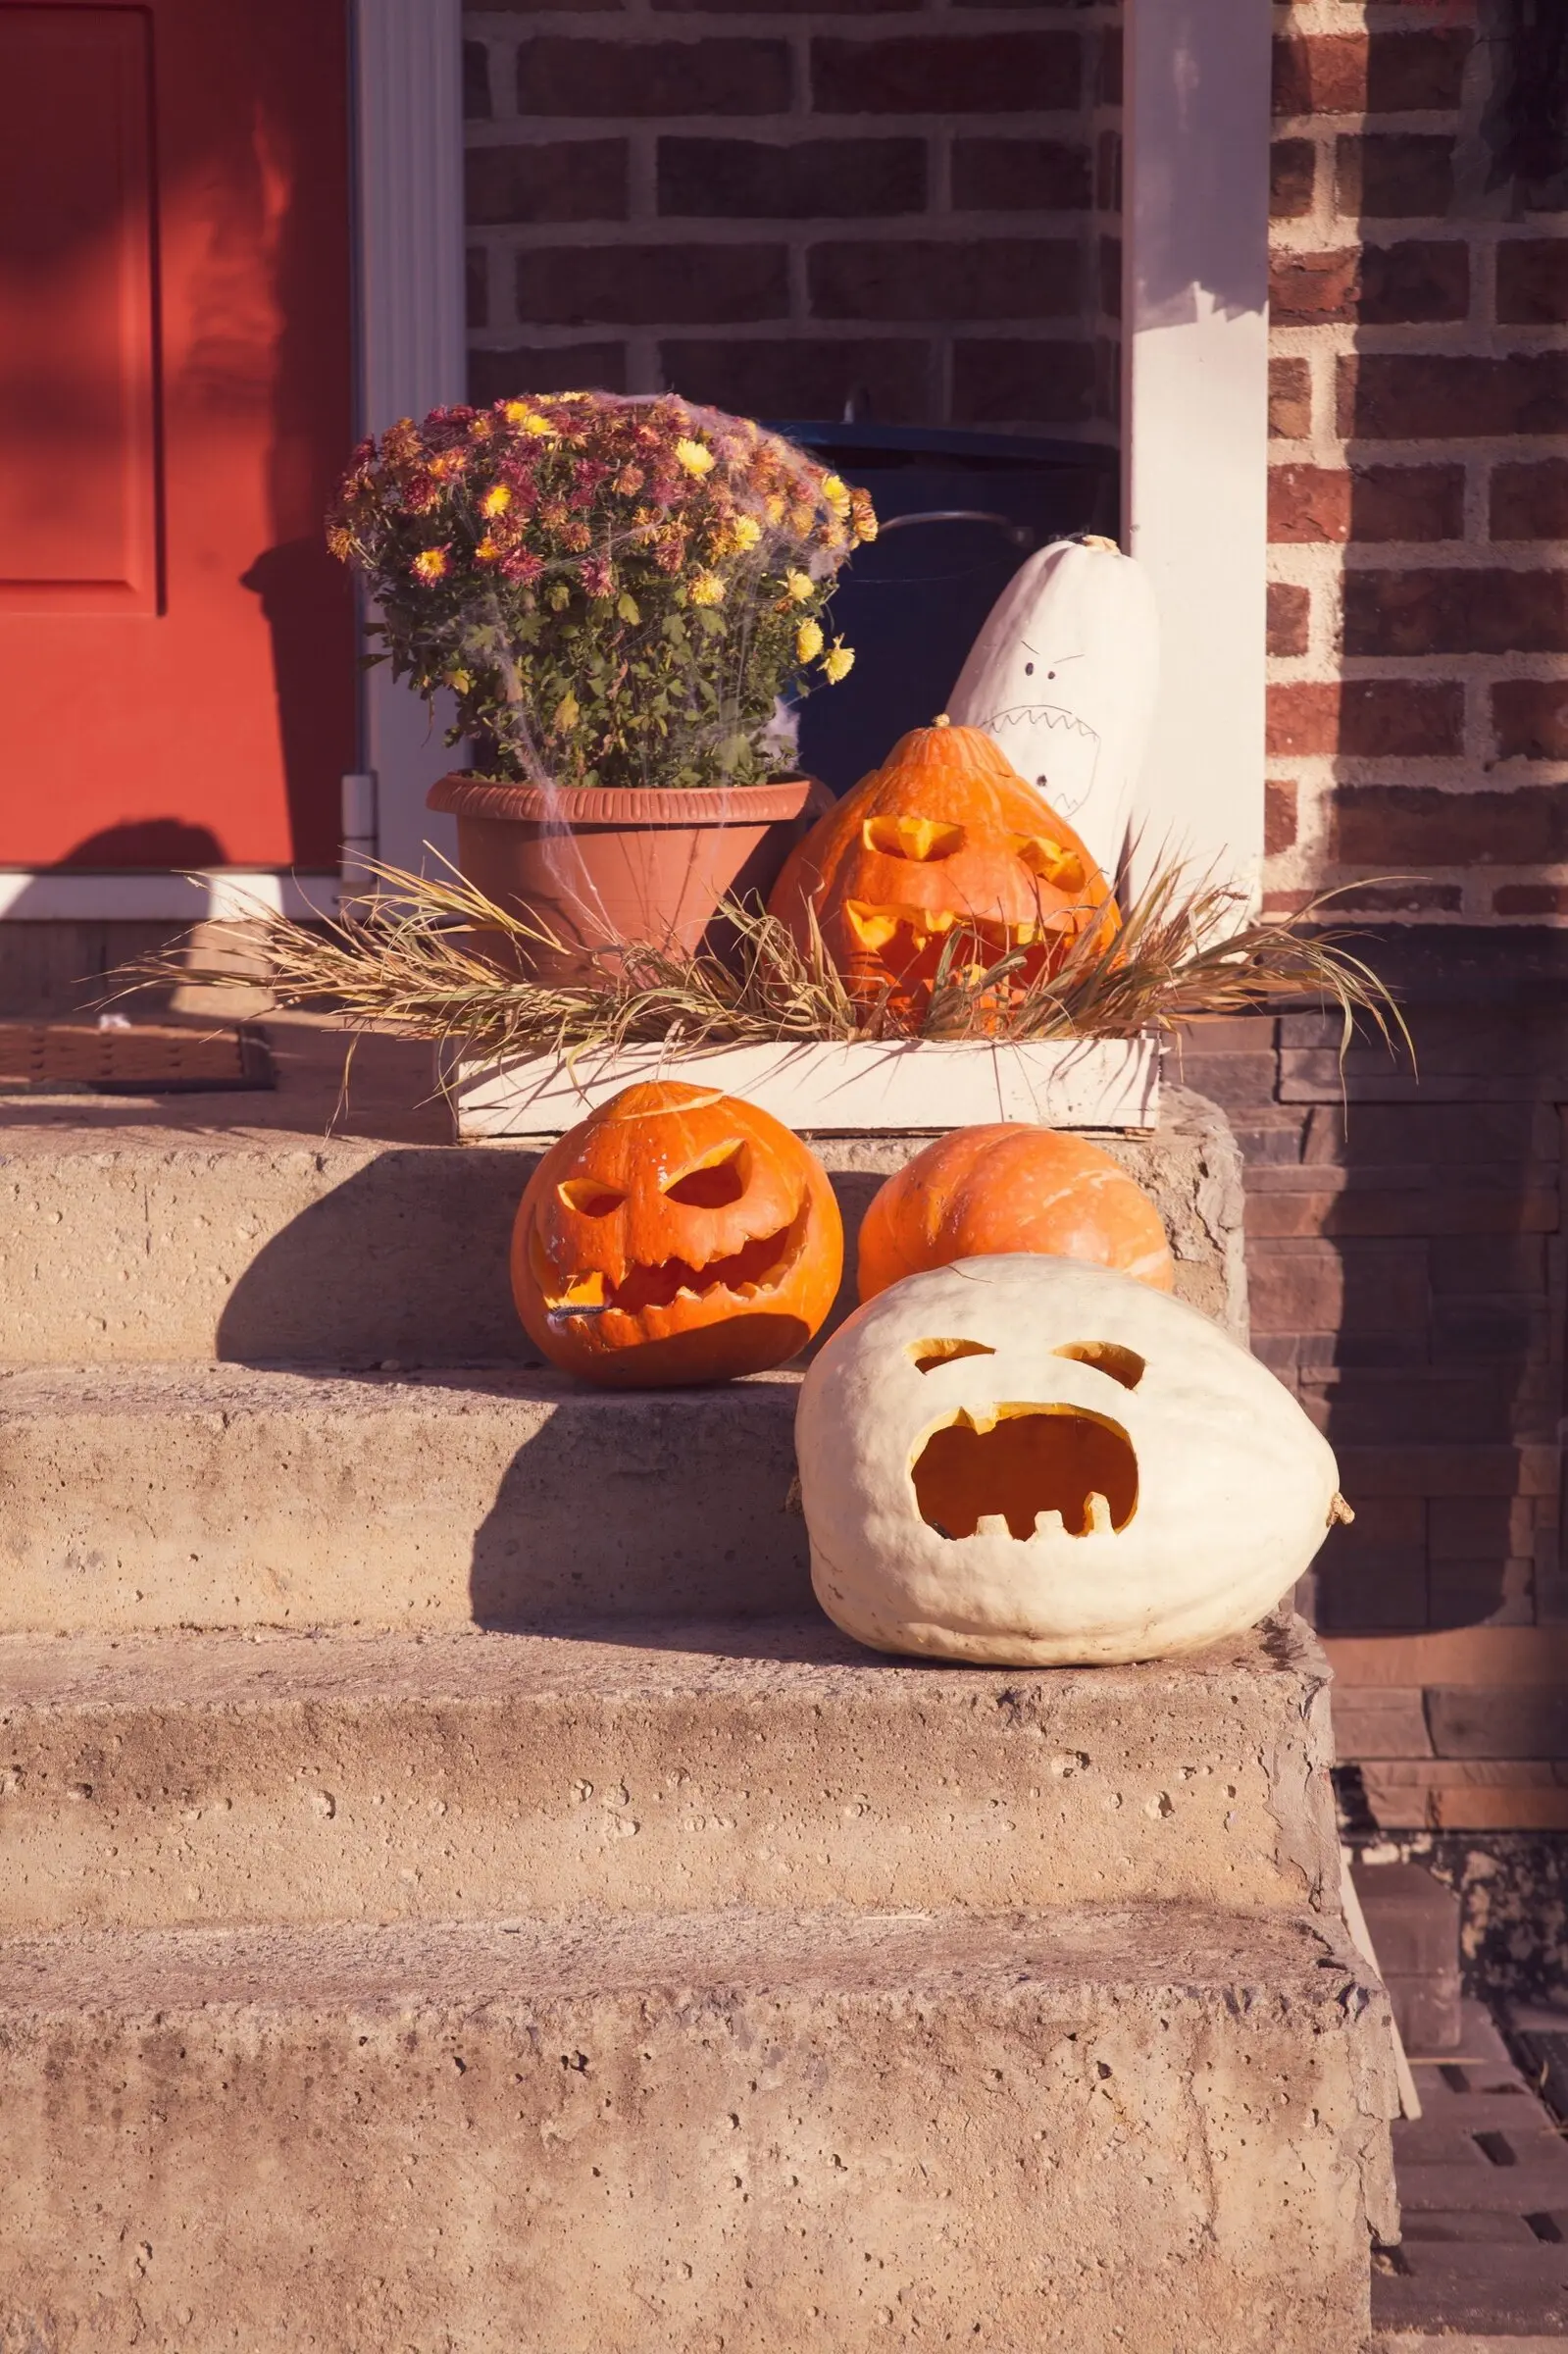
Every cut is a spot where the pumpkin loses water and mold moves in. Rub a thin layer of petroleum jelly over the cut edges and the inside walls. It holds in moisture, so the face stays crisp longer.
Here’s the catch: Use only a thin film. A thick coat traps dirt and can hold moisture against the flesh. Petroleum jelly is also flammable, so a pumpkin treated with it needs a battery light, not a candle.
Light it without a flame
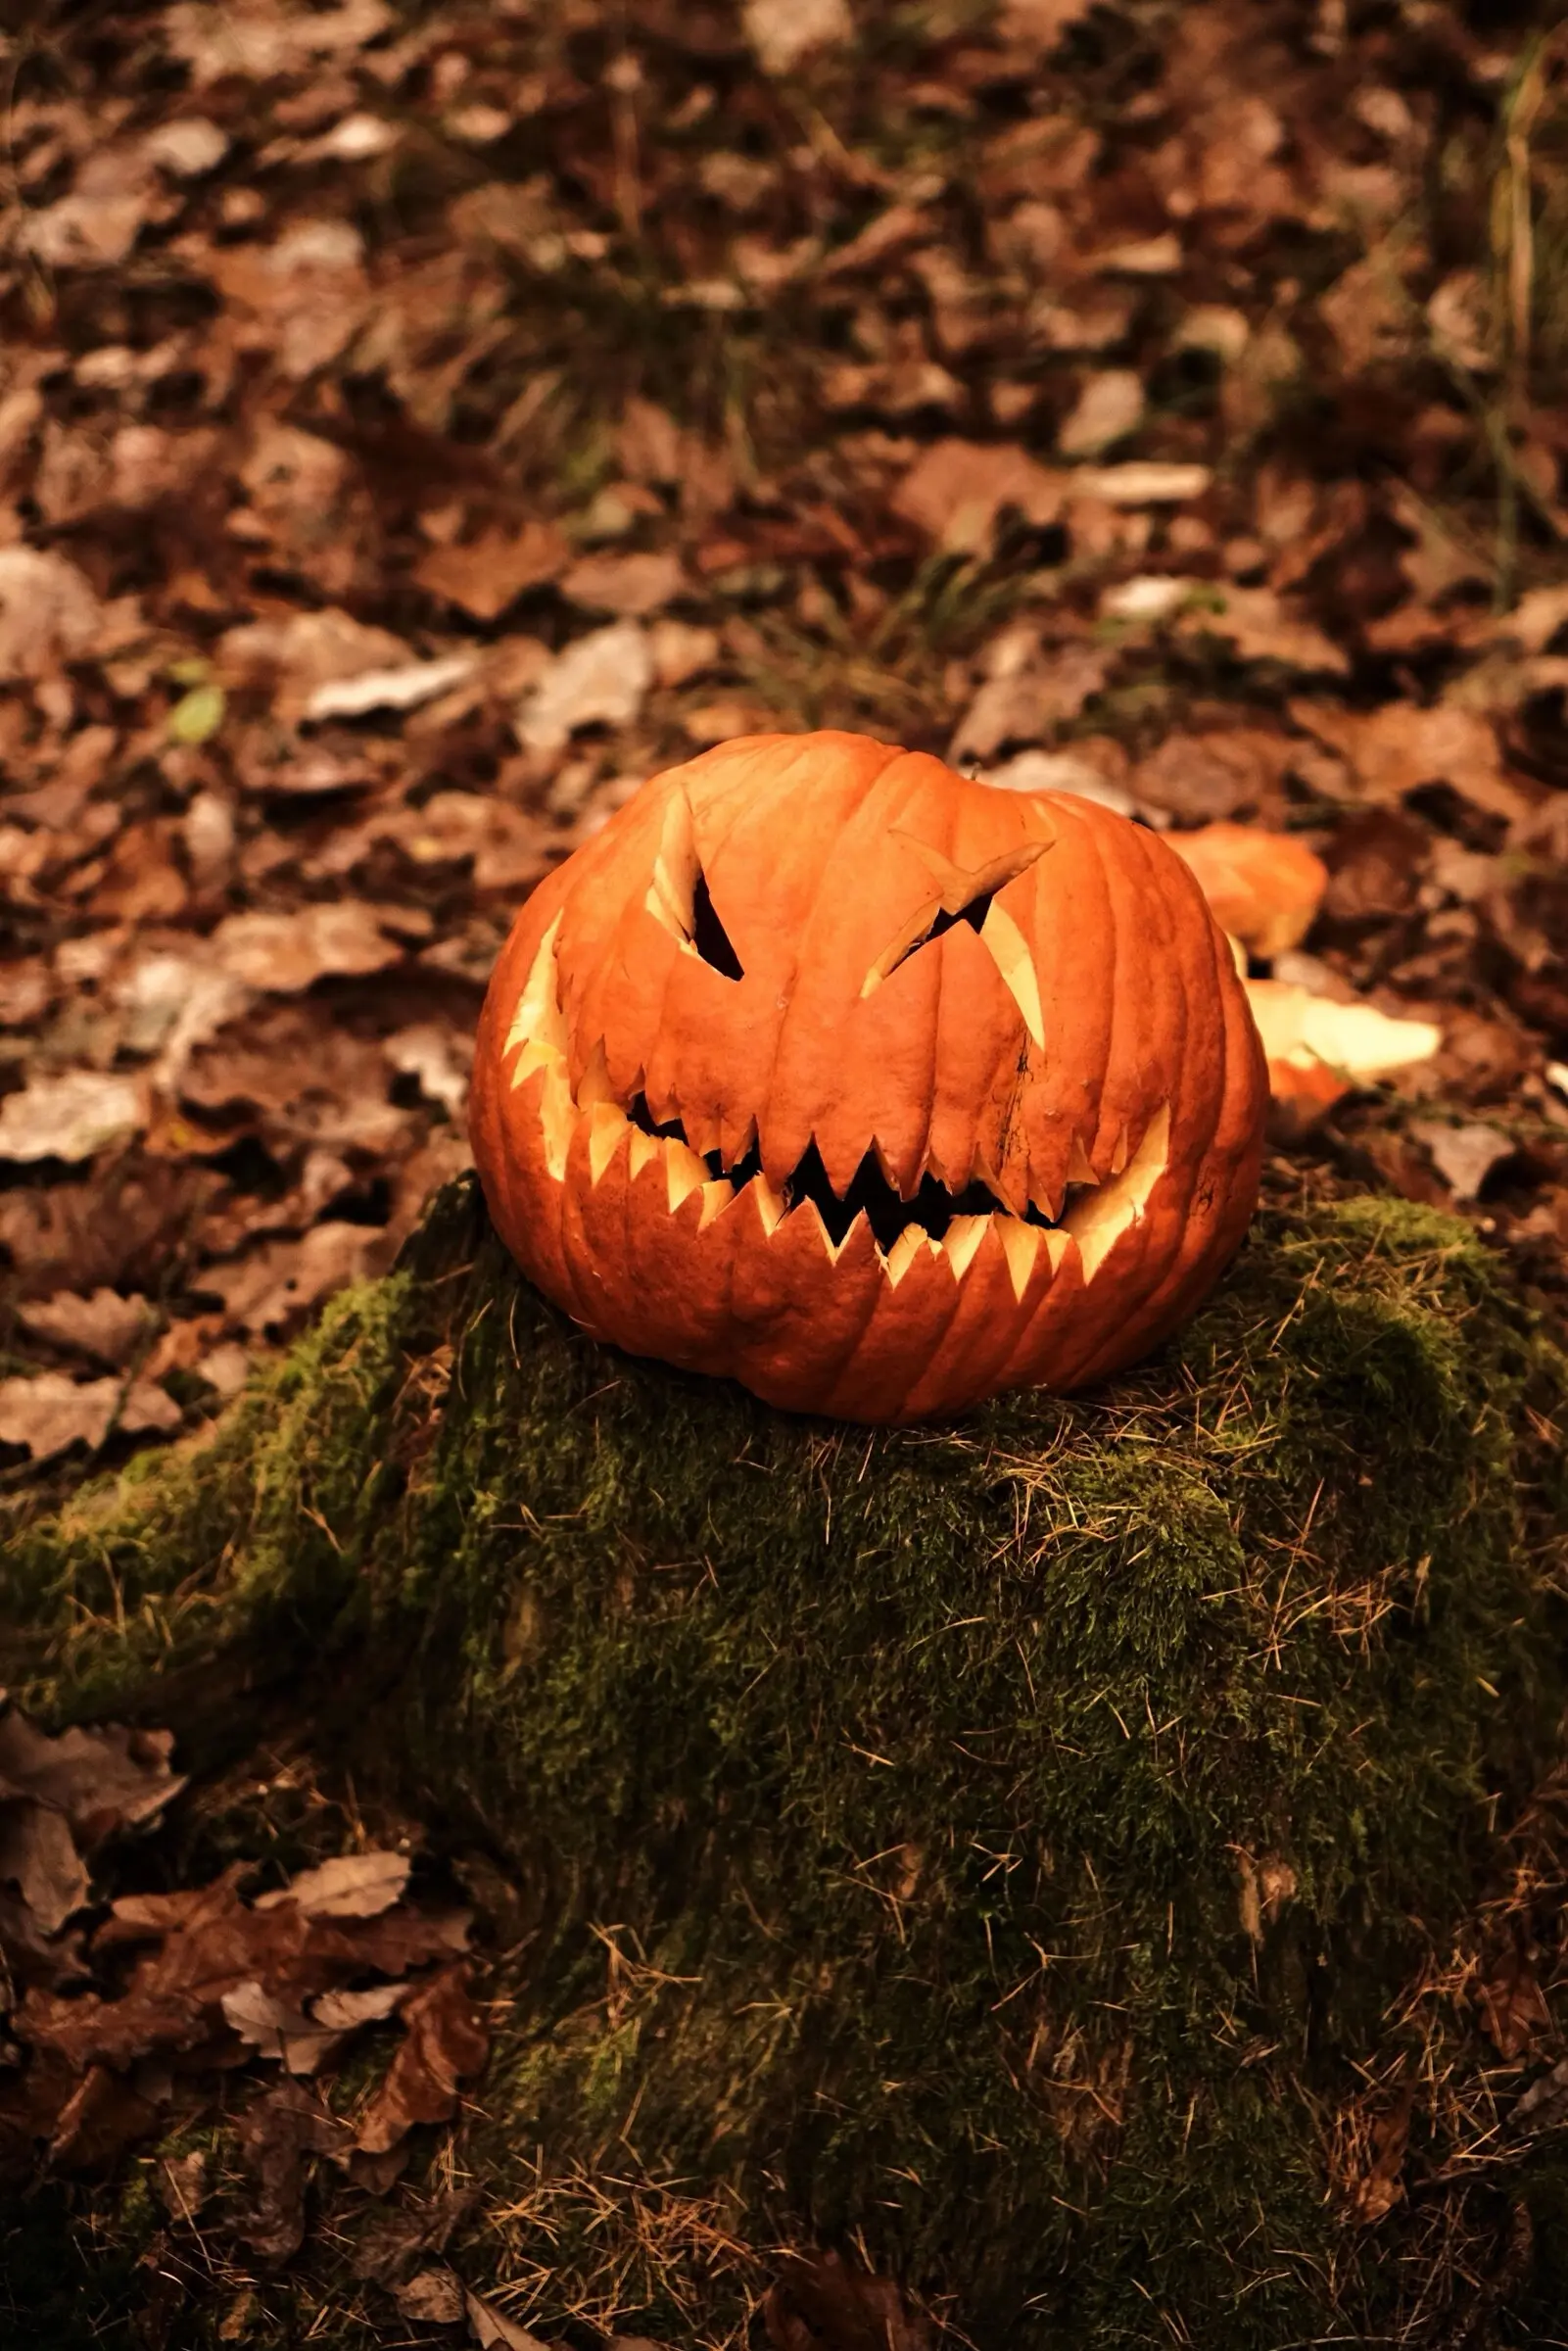
A candle bakes a pumpkin from the inside. The heat dries out the walls, the lid cooks, and the face starts to droop by the second night. Battery-powered tea lights or a string of small LED lights give the same glow, with no heat and no fire risk on a porch full of costumes.
Revive a shriveled jack-o’-lantern
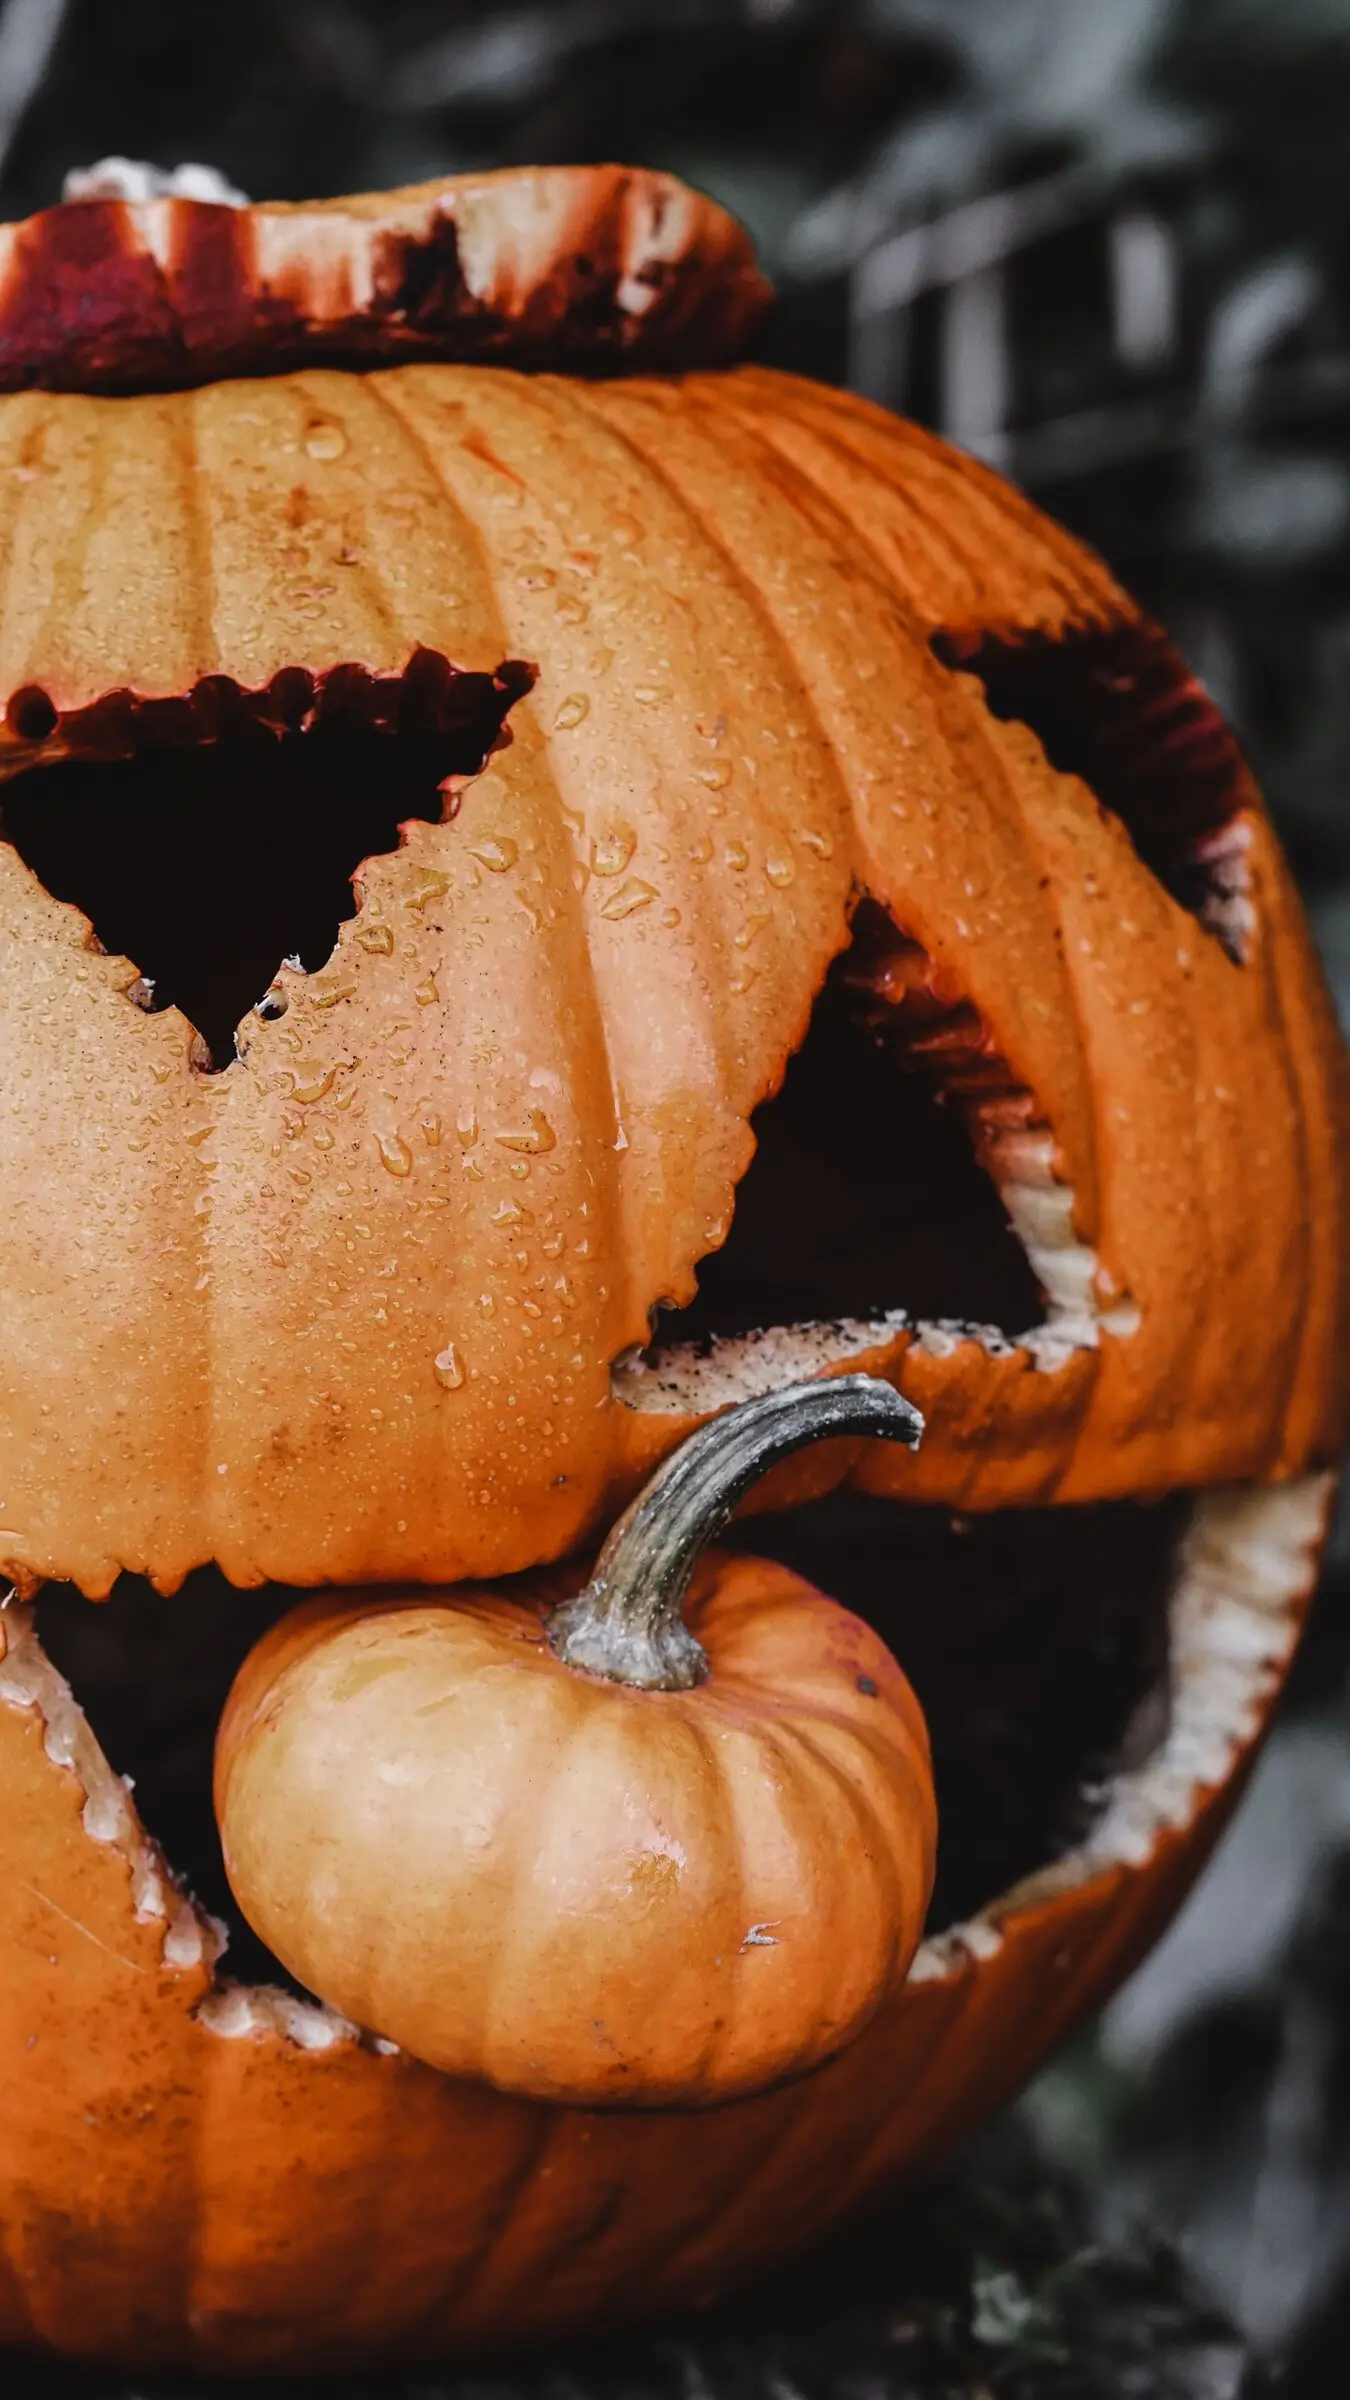
If the face has started to pucker, the pumpkin is thirsty. Set it face down in a sink or bucket of cold water for an hour or two, until the walls firm up. Then turn it upside down to drain, pat it dry, and put it back out. It won’t undo mold, but it brings back a tired face for another night or two.
Skip this tip: the long bleach bath
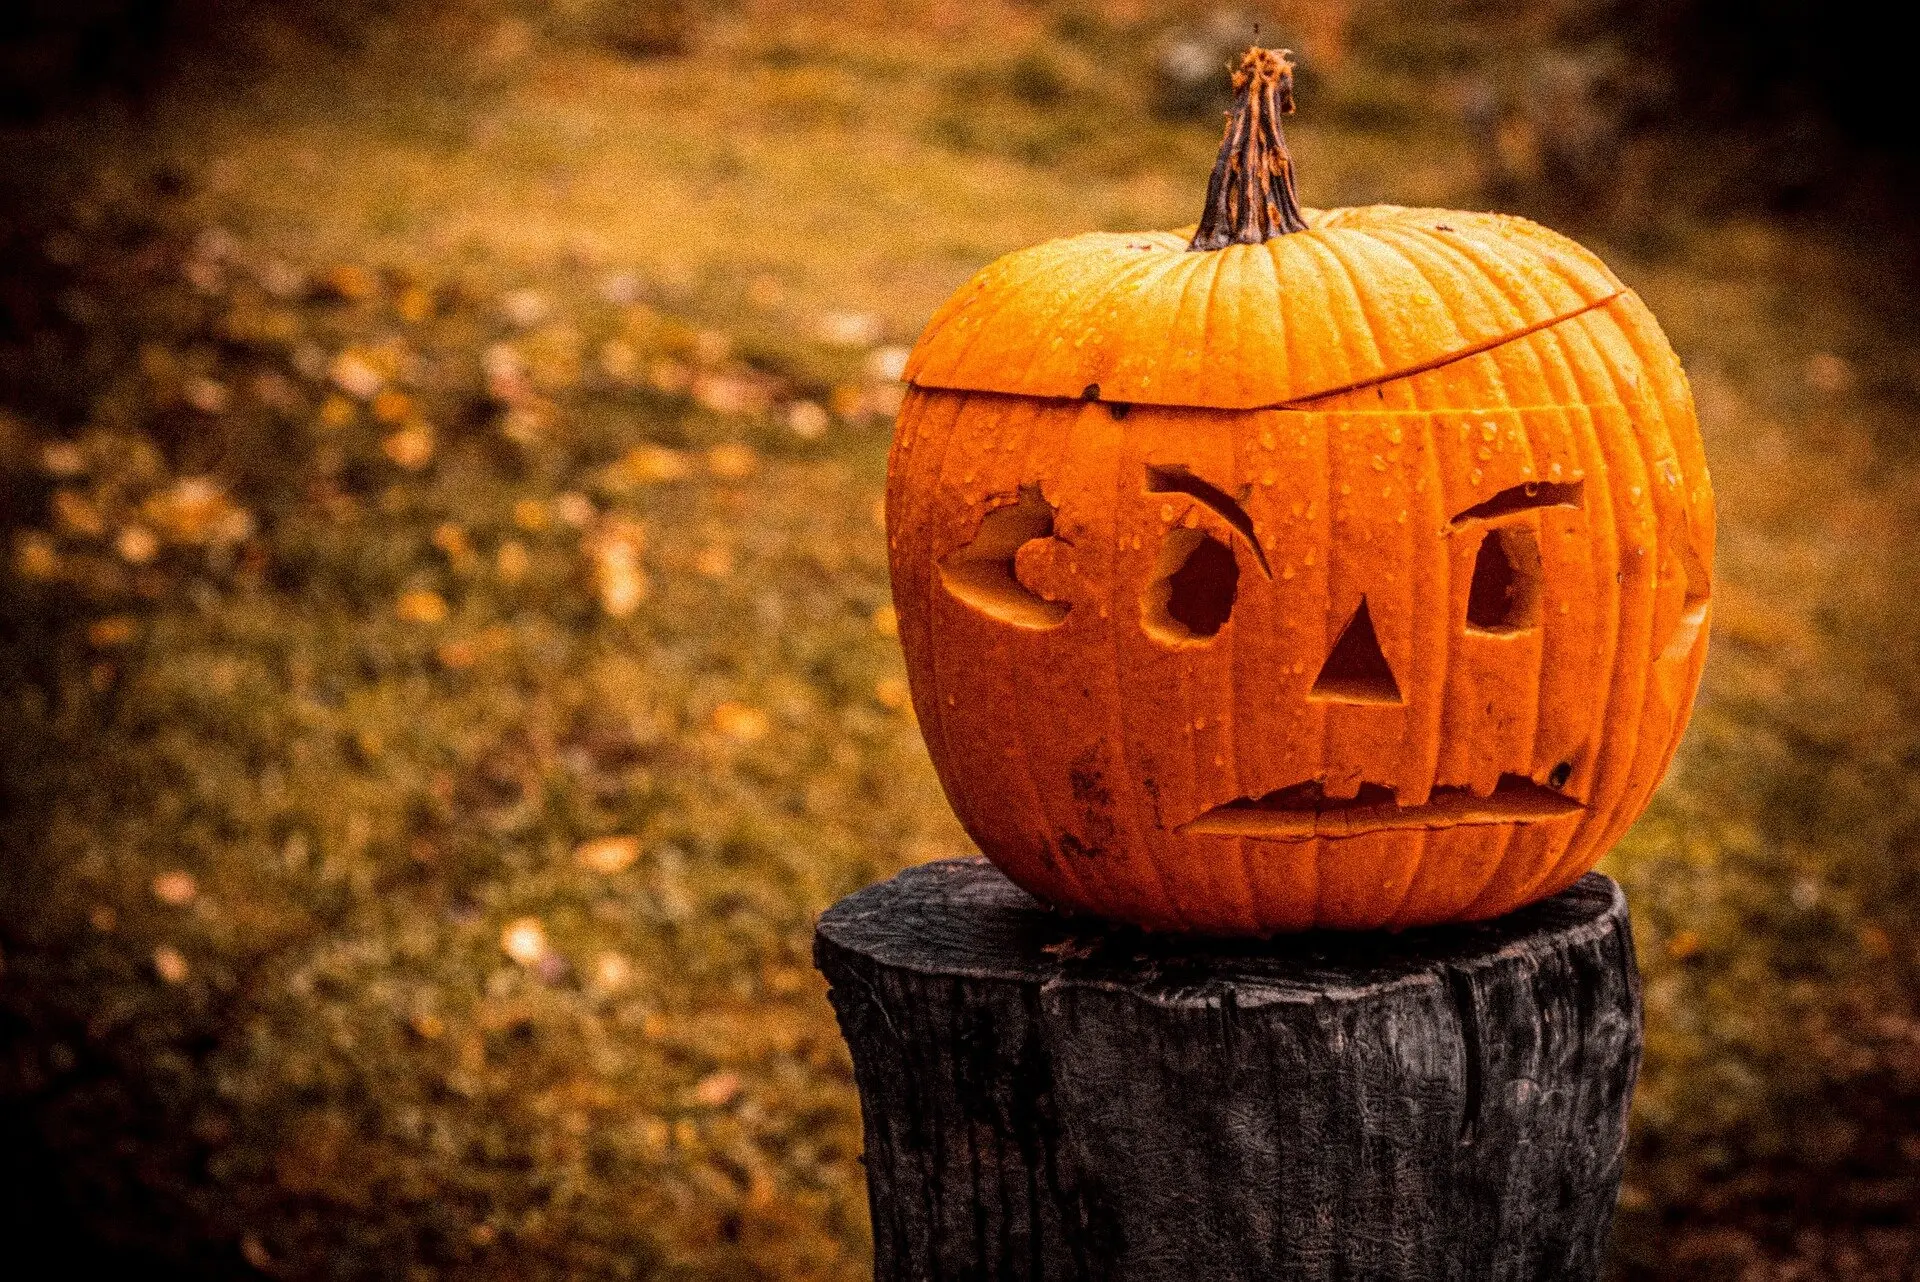
You’ll see advice to soak a carved pumpkin in bleach water for hours. Bleach only cleans the surface it touches, and the effect fades in a day. Mold still grows into the cut flesh, and a waterlogged pumpkin can collapse sooner. A quick wipe before carving, a thin seal on the edges, and a cool, dry spot do more.
When it’s done
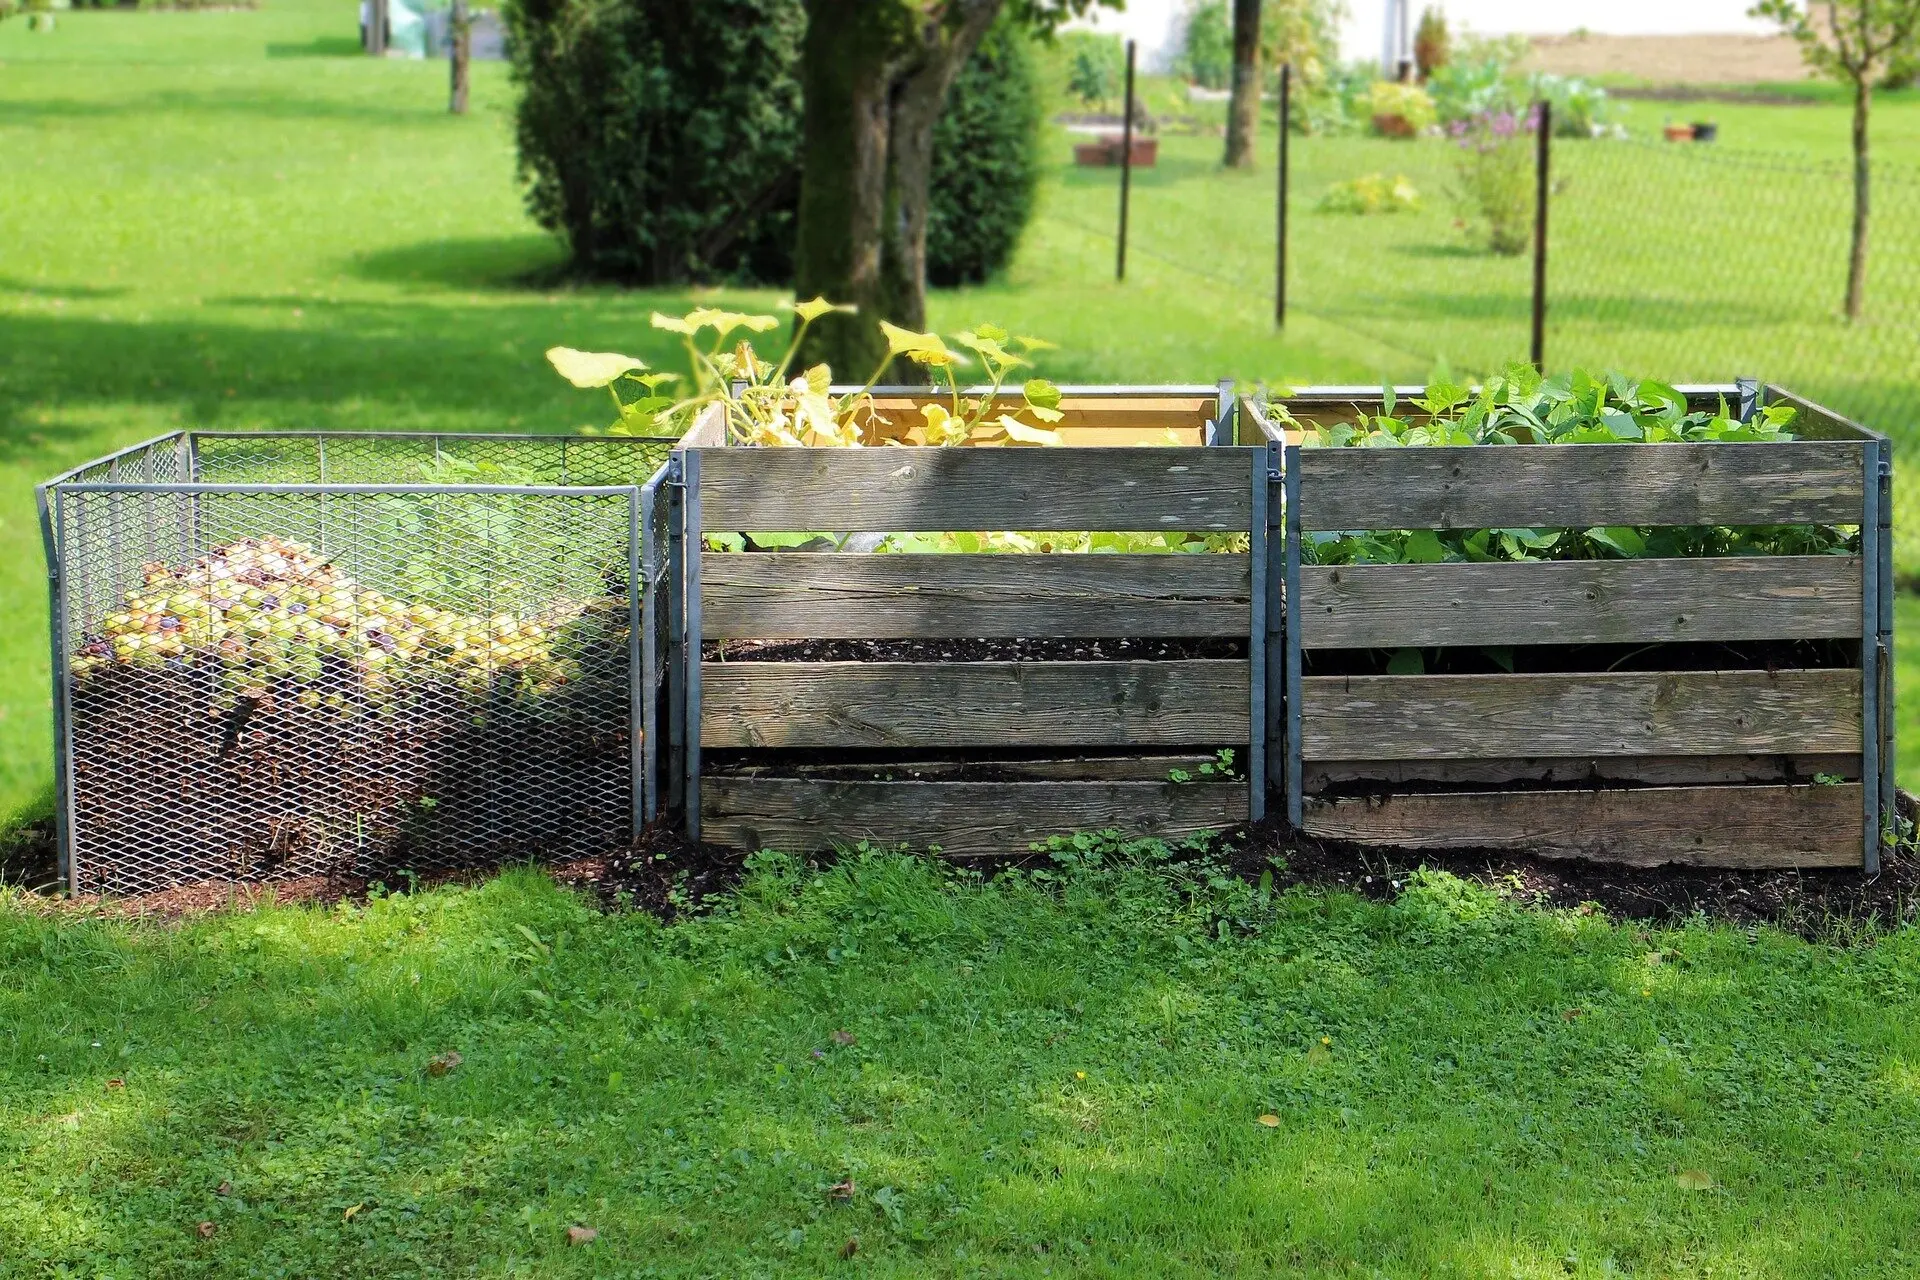
Once a pumpkin turns soft, it’s done. An uncarved one that was never treated can go into the compost pile; cut it into chunks so it breaks down faster. Leave out anything coated with petroleum jelly or wiped with bleach.
My pumpkin tips for fall cover cooking a pie pumpkin and decorating without a knife, and the seeds you scooped make a fine batch of roasted pumpkin seeds.
Frequently asked questions
How long does a carved pumpkin last? About 7 to 10 days, depending on the weather. Warm, humid days shorten it, and a cool, shady spot stretches it.
How long does an uncarved pumpkin last? Two to six months stored cool and dry, depending on the variety. On a porch, often through Thanksgiving if it stays dry and out of hard freezes.
Does petroleum jelly help a carved pumpkin last longer? Yes. A thin layer on the cut edges slows drying. Keep it thin, and use a battery light instead of a candle.
Should I put my pumpkin in the refrigerator? Only a carved one, overnight, wrapped in a plastic bag, to cool it down on a warm stretch. Whole pumpkins keep better at 50°F to 60°F than in the cold of a refrigerator.
Can I cook a jack-o’-lantern? No. Once it’s carved and has sat out, it isn’t safe to eat. Cook a small pie pumpkin instead.
Can I compost my pumpkin? Yes, if it wasn’t treated with bleach or petroleum jelly. Cut it into pieces first so it breaks down faster.