In a frugal home, every appliance has to earn its counter space. The microwave is a big one. Some folks can’t picture a day without it. Others admit it mostly holds the mail, keeps the time or doubles as a bread box.
Before you sell yours or give it away, try putting it to work. A microwave can sanitize a sponge, help bread rise, dry garden herbs and warm a heating pad for sore muscles. It can also save on your power bill. According to the federal Energy Star program, cooking or warming small portions in the microwave can use up to 80% less energy than heating them in the oven.
Here are 17 handy ways to get your money’s worth, plus two quick mug recipes and the safety tips that matter most.
Before you start
Microwaves vary a lot in power. The times below are a starting point for a typical 1,000-watt model. Check the label inside the door for yours, and use shorter bursts if it runs lower.
Microwave hacks at a glance
| Hack | About how long | Key tip |
|---|---|---|
| Sanitize a sponge | 1 to 2 minutes | Sponge must be wet, no metal |
| Steam-clean the microwave | 3 to 5 minutes | Let it sit before opening |
| Proof bread dough | 20 minutes or more | Microwave stays off with dough inside |
| Juice citrus | 10 to 20 seconds | Roll fruit before cutting |
| Soften brown sugar | 20-second bursts | Add a damp paper towel |
| Dry herbs | 1 to 2 minutes per cup | Plain white paper towels only |
| Soften winter squash | 3 to 5 minutes | Pierce the skin first |
| Pasteurize potting soil | 90-second bursts | Heat to 180°F |
| Warm a rice heating pad | About 1 minute | Add a cup of water |
Cleaning hacks
1. Sanitize your kitchen sponge
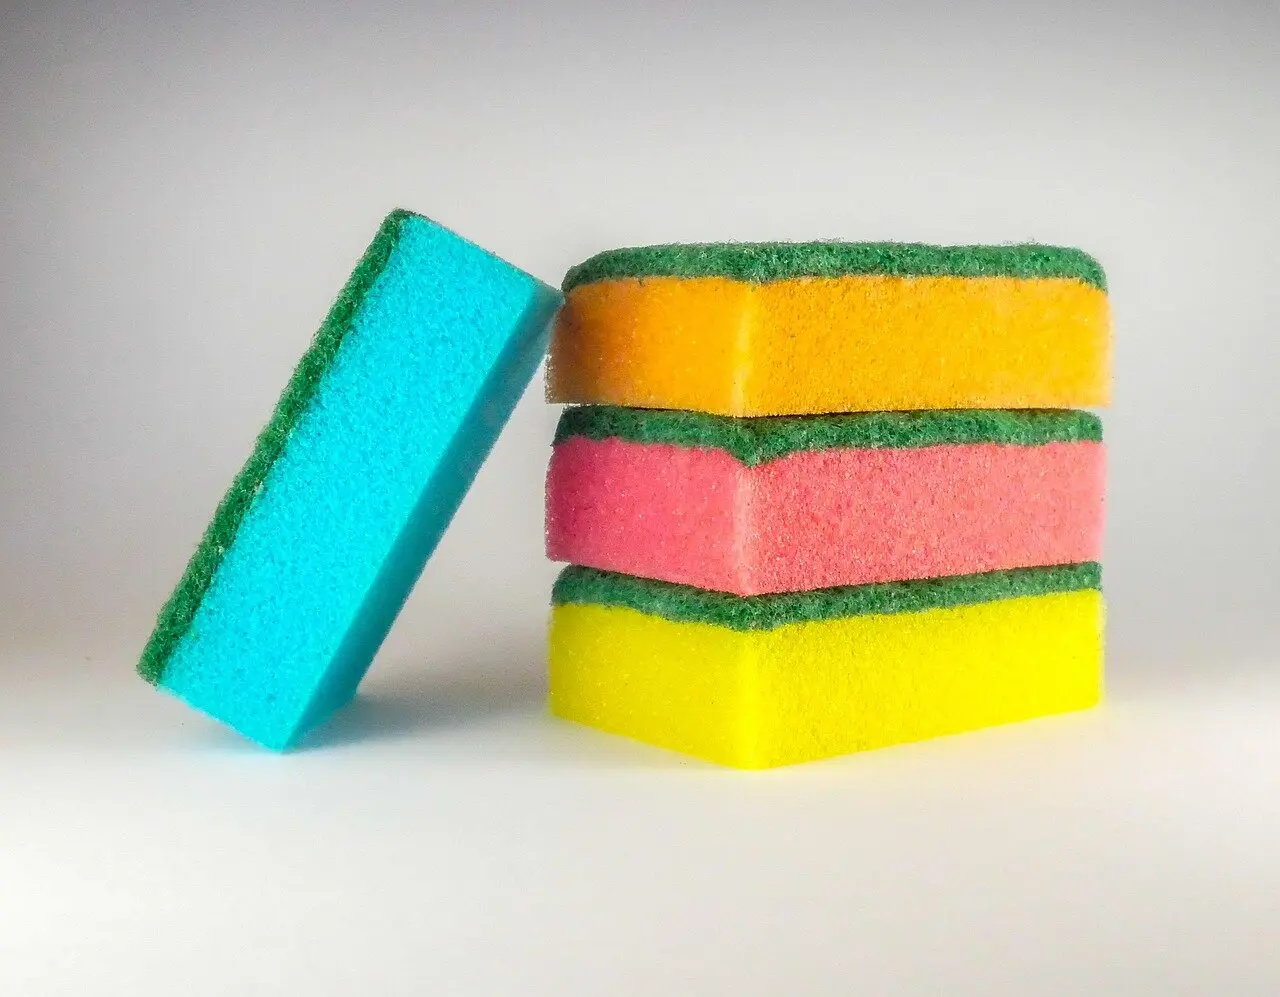
Your sponge stays warm, wet and full of food bits, which makes it a perfect home for germs. A minute in the microwave takes care of most of them.
Researchers at the USDA’s Agricultural Research Service found that one minute in the microwave killed 99.99999% of bacteria on test sponges. That beat soaking them in bleach, lemon juice or water.
Get the sponge soaking wet first. A dry sponge can catch fire. Skip any sponge with a metal scrubber. Let it cool for a few minutes before you grab it, because it will be steaming hot. If it smells sour, soak it in a mix of vinegar and water before you zap it.
Zapping isn’t a forever fix. The Academy of Nutrition and Dietetics recommends sanitizing your sponge daily and replacing it every one to two weeks, or sooner if it smells. NSF International, a public health and safety organization, also suggests a fresh sponge about every two weeks. I keep mine about two weeks, since my dishwasher and dish brush do most of the heavy lifting. To stretch your budget, cut sponges in half so a pack lasts twice as long.
A dish brush is an easy swap for some jobs. University of Illinois Extension says you can clean scrub brushes in the dishwasher, which is handy since most brushes shouldn’t go in the microwave.
2. Steam-clean the microwave itself
Fill a microwave-safe bowl with a cup of water and a few lemon slices or a splash of vinegar. Put a wooden spoon or chopstick in the bowl, then heat on high until it boils and the window steams up. Leave the door shut for a few minutes. Dried-on splatters will wipe right off with a damp cloth.
Kitchen hacks
3. Help bread dough rise
A cold kitchen can make dough sluggish. Your microwave can turn into a warm, steamy proofing box.
Pour 2 cups of water into a glass measuring cup and heat it until it boils. The FDA warns that plain water heated too long in a microwave can become superheated and erupt when you move it, causing burns. A wooden spoon or chopstick in the water gives bubbles a place to form and lowers the risk.
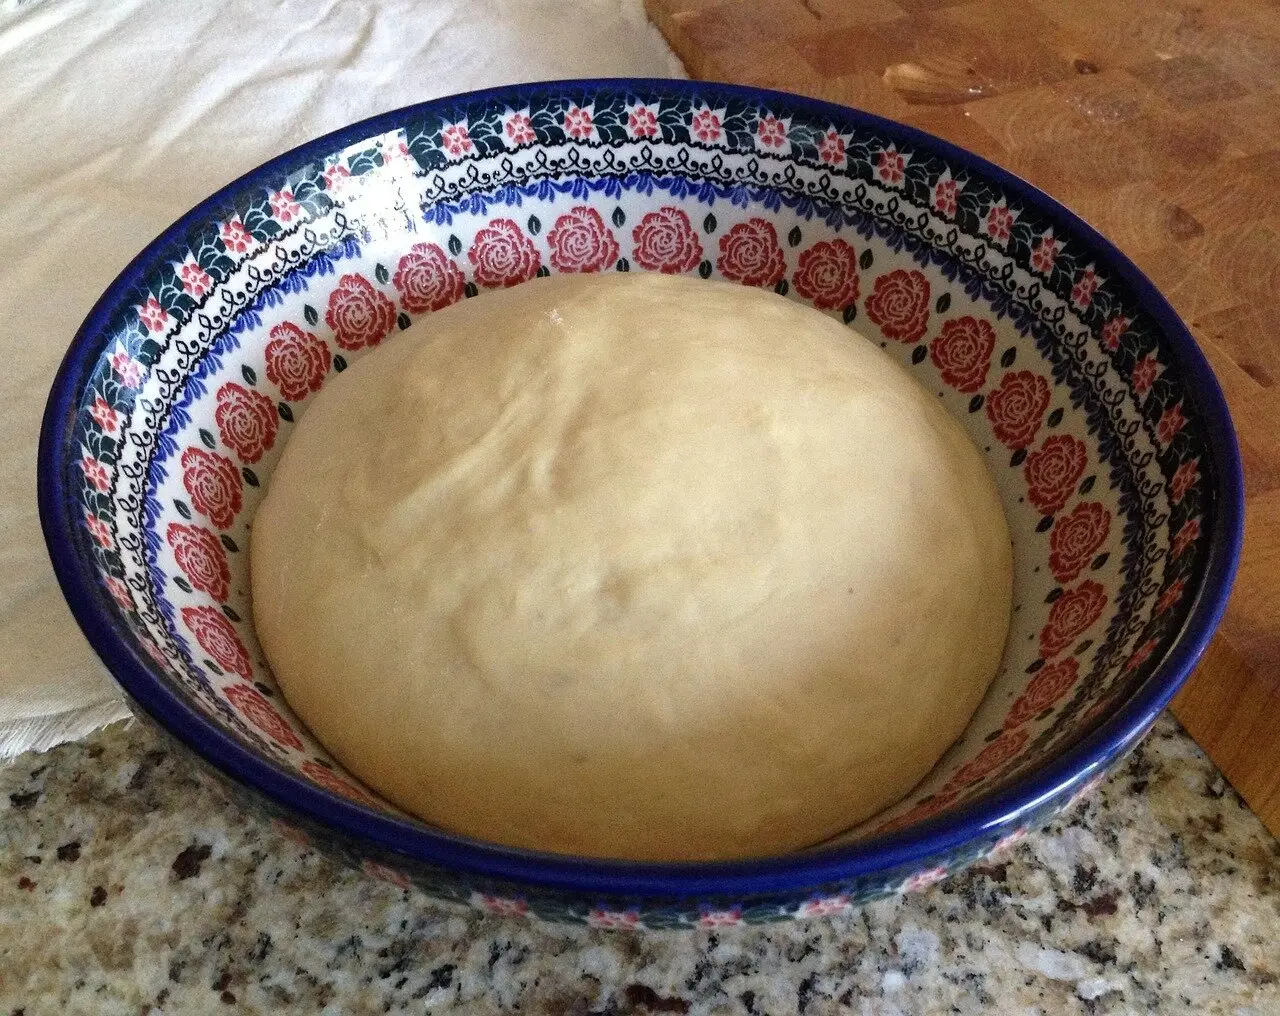
Slide the hot water to the back corner. Put your dough in an oiled bowl, cover it with a towel or plastic wrap, set it inside and close the door. Don’t turn the microwave on again. Take a peek in 20 minutes. If the air inside has cooled and the dough hasn’t doubled, take the dough out, reheat the water and put the dough back.
4. Get more juice from lemons and limes
Warm a whole lemon or lime for 10 to 20 seconds. Then press and roll it on the counter before you cut it. The fruit softens and gives up more juice, so you buy fewer lemons.
5. Soften hard brown sugar
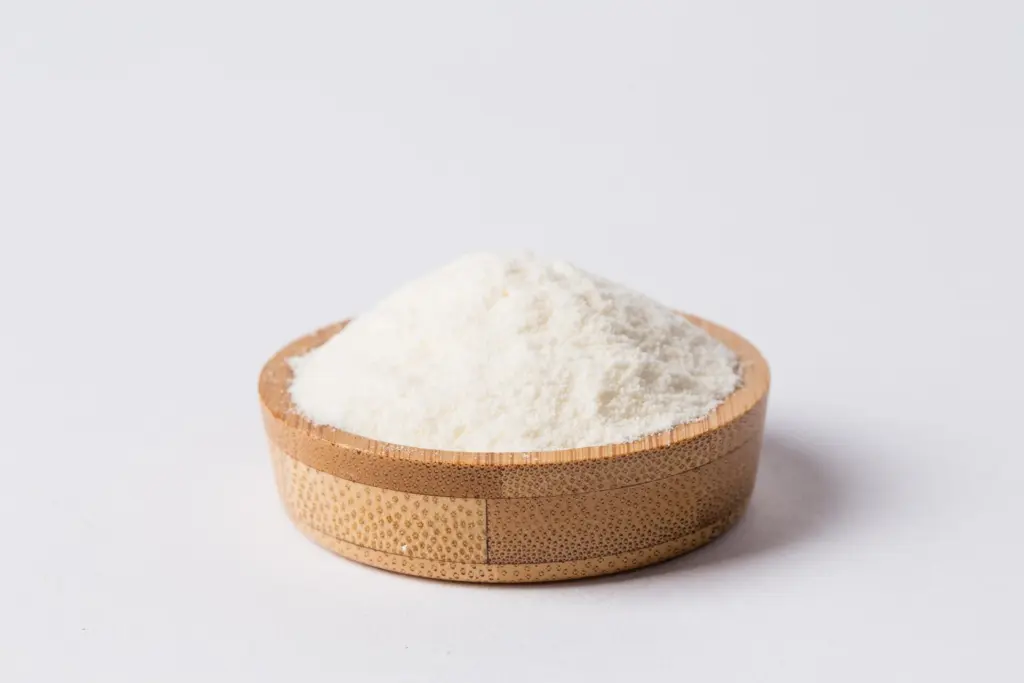
Put the rock-hard sugar in a microwave-safe bowl with a damp paper towel over the top. Heat in 20-second bursts and break it up with a fork between rounds. Use it right away, because it hardens again as it cools.
6. Rescue crystallized honey
Don’t toss honey that has turned grainy. It’s still good. Take the lid off a glass jar and warm it in 30-second bursts, stirring in between, until the crystals melt. If your honey is in a plastic bottle, spoon it into a glass dish first.
7. Peel garlic in seconds
Microwave a few cloves for about 15 seconds, just until they’re warm. The skins loosen and slide off, and your fingers won’t smell like garlic all day. The cooks at America’s Test Kitchen use this trick, too.
8. Toast nuts, coconut or bread crumbs
Spread them in a thin layer on a microwave-safe plate. Heat for a minute at a time, stirring between rounds, until they smell toasty and start to turn golden. Nothing to scrub, and you don’t heat up the kitchen.

9. Dry fresh herbs from the garden
Drying your own herbs saves a bundle compared with buying little jars at the store. The microwave works best with small batches.
Rinse the herbs and pat them completely dry. Spread the leaves in one layer between two plain white paper towels. Oregon State University Extension says to skip recycled paper towels because they can hold tiny bits of metal that spark. For a cup of herbs, the extension service suggests 1 to 2 minutes on high, then stir every 30 seconds until they’re almost dry. Let them finish on the counter.
Parsley, chives, thyme, sage and celery leaves work well. Stay close, because overdried herbs and paper towels can scorch.

10. Make winter squash easier to cut
Hacking through a hard acorn or butternut squash is a good way to lose a finger. Poke the skin all over with a fork, then microwave the whole squash for 3 to 5 minutes. A knife slides through much easier.
Readers love finishing the job in the microwave, too. Cut the softened squash in half and scoop out the seeds. Add a pat of butter and a spoonful of brown sugar to each half. Cover and cook until tender, checking after about 10 minutes. It tastes just like oven-baked squash in far less time.
11. Steam corn on the cob in the husk
Microwave an ear of corn, husk and all, for 3 to 4 minutes. Let it cool a bit, cut off the stem end and squeeze the ear out of the husk. The silk stays behind.
12. Bake a potato in minutes
Scrub the potato and poke it several times with a fork. Microwave for 5 minutes, flip it and cook 3 to 5 minutes more until a fork slides in easily. Cooking several at once takes longer, so add time and check each one.
13. Cook crispy bacon with less mess
Lay strips on a microwave-safe plate between layers of plain white paper towels. Start with about 1 minute per strip and check often. The towels soak up the grease, so there’s no pan to scrub.
14. Scramble eggs in a mug
Breakfast in under two minutes, with one mug to wash. See the recipe below.
15. Bake a cake in a mug
When you want something sweet but not a whole pan of brownies, a mug cake makes one portion. See the recipe below.
Garden hacks
16. Pasteurize homemade potting soil
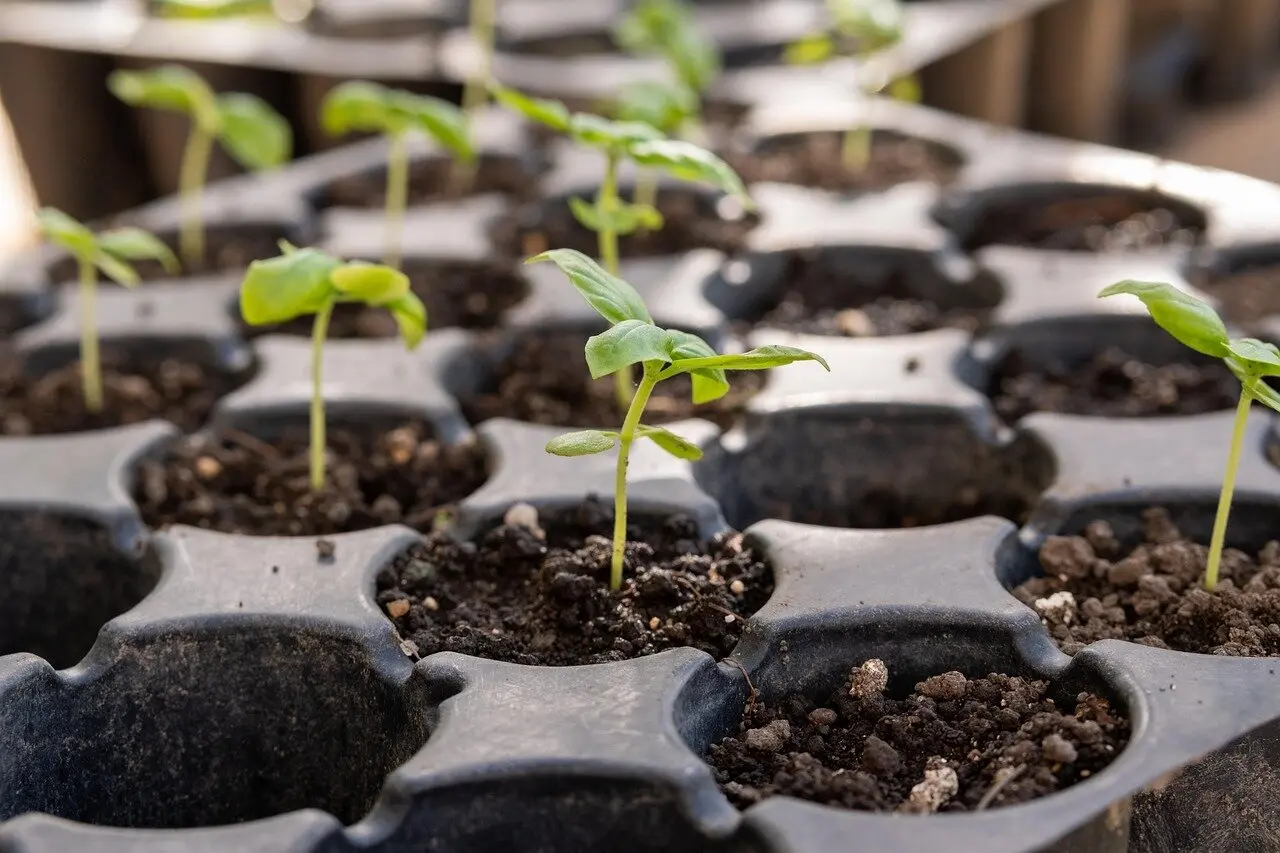
If you mix your own potting soil from compost or reuse old soil, heating it kills weed seeds, insects and the disease organisms that make seedlings flop over. Penn State Extension says soil needs to reach 180°F to be pasteurized.
Moisten the soil so it’s damp but not soggy. Put about 2 pounds in a microwave-safe container with a vented lid. Never use foil or metal. Heat for about 90 seconds, then check the middle with a kitchen thermometer. Keep going in short bursts until it reads 180°F. Let it cool with the lid on.
Expect an earthy smell, so open a window. Keep a container just for soil, and don’t use it for food again. If this sounds like more fuss than it’s worth, a bag of sterile seed-starting mix does the same job.
Comfort hacks
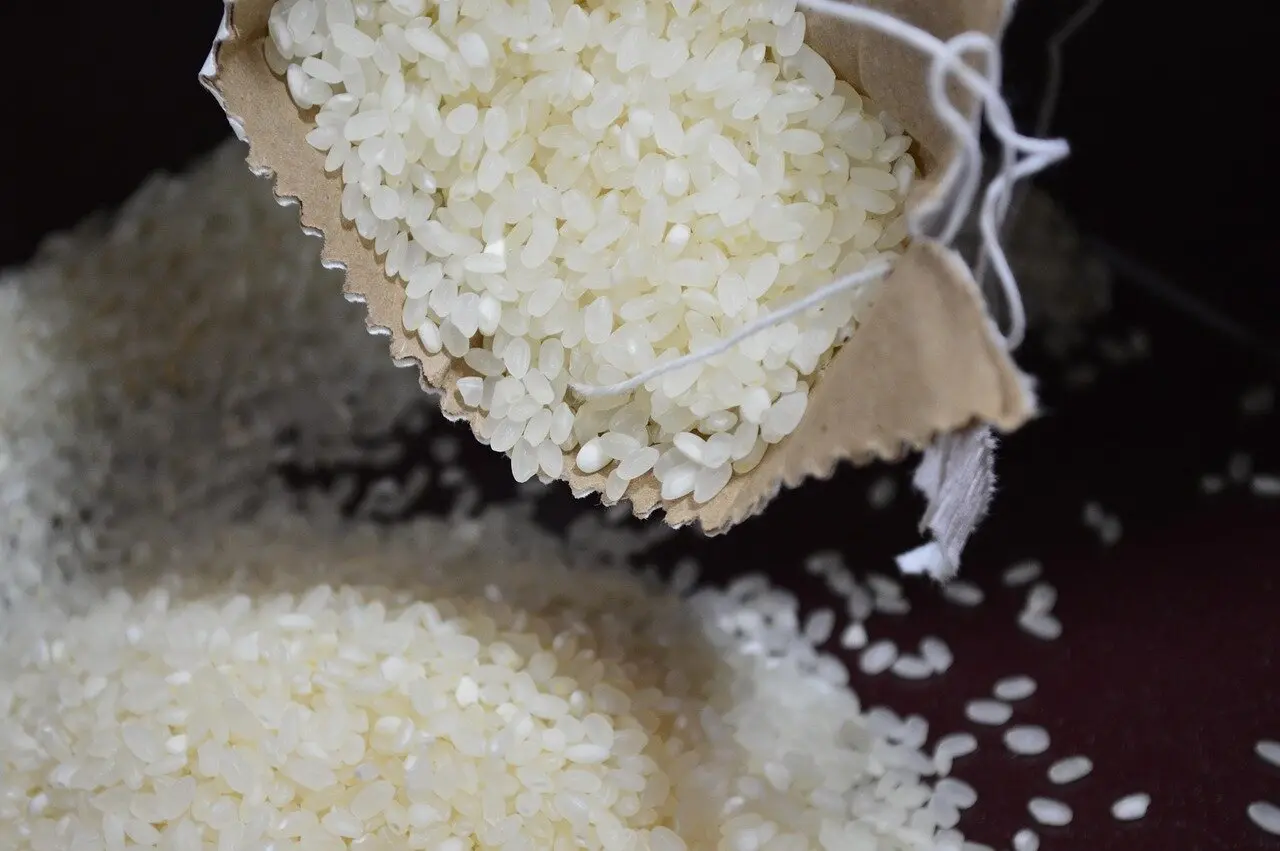
17. Warm a homemade rice heating pad
A rice heating pad soothes a stiff neck, sore back or cold feet, and it costs next to nothing. Pour about 3 cups of plain white rice into a clean tube sock and tie a tight knot at the top. If you sew, stitch a cotton fabric pouch instead and make a washable cover for it.
The Spokane Fire Department offers smart safety tips for these pads:
- Put a cup of water in the microwave with the pad.
- Heat it for about a minute.
- Skip brown rice and instant rice, which break down.
- Replace the rice once a year, because grain that’s been heated over and over can catch fire.
- Never put the hot pad right on bare skin. Wrap it in a towel.
Microwave safety basics
Use only glass, ceramic or containers labeled microwave-safe. Never microwave foil, metal or dishes with metal trim. Don’t heat plain water longer than you need to, and keep a nonmetal stir stick in it. Never cook eggs in the shell, which can burst. Stir food partway through and let it stand a minute, because microwaves heat unevenly.
Microwave Mug Scrambled Eggs

These eggs cook right in the mug you eat from, so there’s no skillet to scrub. A quick stir halfway through keeps them soft and even. Add toast, and breakfast is ready in about two minutes.

Ingredients
- 2 large eggs
- 2 tablespoons milk
- 1 tablespoon shredded cheddar cheese (optional)
- 1 pinch salt
- 1 pinch black pepper
- Cooking spray
Directions
- Coat a 12-ounce or larger microwave-safe mug with cooking spray.
- Crack the eggs into the mug. Add the milk, salt and pepper, and beat with a fork until no streaks remain.
- Microwave on high for 45 seconds. Stir well.
- Microwave 30 to 45 seconds more, until no runny egg remains. The USDA says eggs should be cooked until firm.
- Stir in the cheese and let the mug stand for 1 minute before eating.
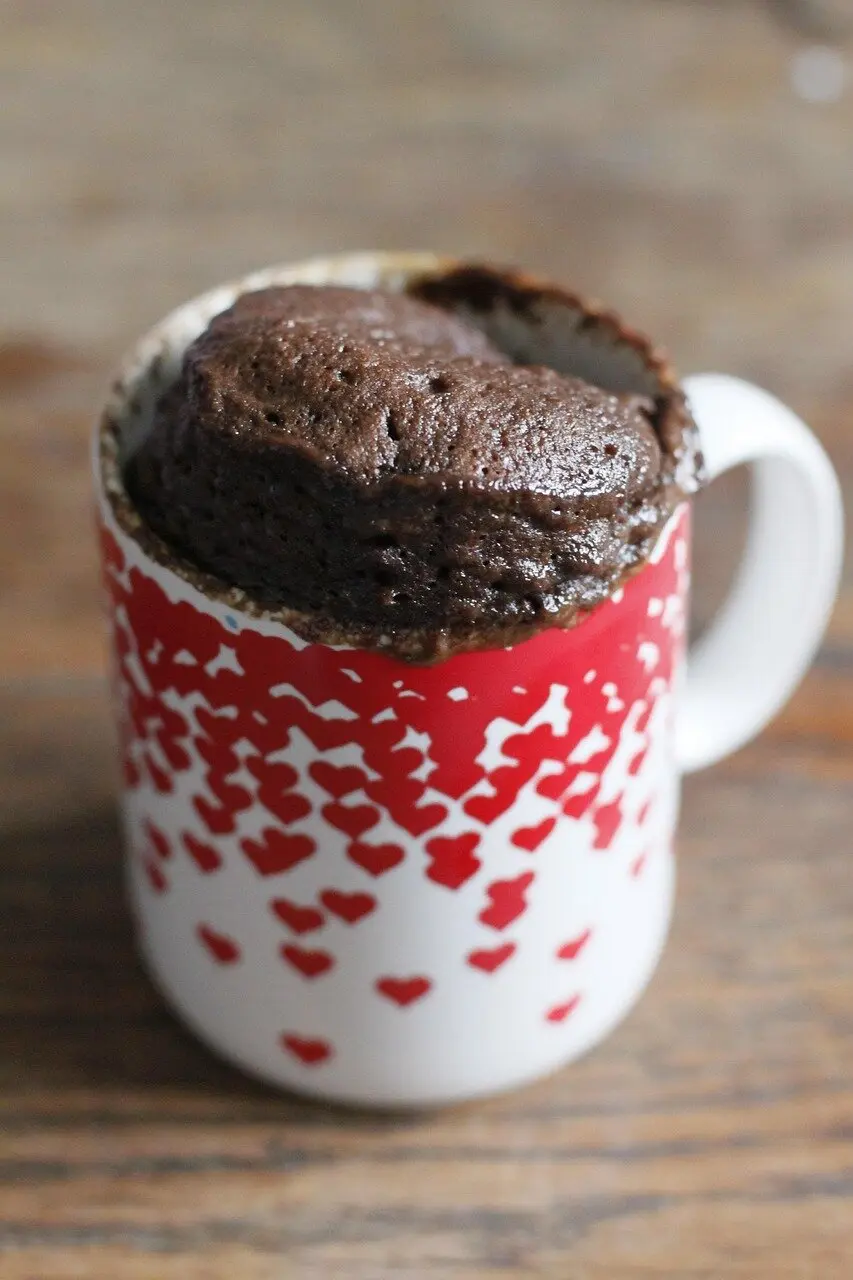
Chocolate Mug Cake
Why bake a whole pan when you only want a little something sweet? This egg-free cake uses pantry staples and is ready in under two minutes. Top it with a scoop of ice cream if you’re feeling fancy.
Ingredients
- 4 tablespoons all-purpose flour
- 4 tablespoons sugar
- 2 tablespoons unsweetened cocoa powder
- ¼ teaspoon baking powder
- 1 pinch salt
- 3 tablespoons milk
- 2 tablespoons vegetable oil
- ¼ teaspoon vanilla extract
- 1 tablespoon chocolate chips
Directions
- In a 12-ounce or larger microwave-safe mug, stir together the flour, sugar, cocoa, baking powder and salt.
- Add the milk, oil and vanilla. Stir until smooth, scraping the bottom of the mug.
- Sprinkle the chocolate chips on top.
- Microwave on high for 70 to 90 seconds, until the top looks set and springs back when touched.
- Let it cool for a minute before digging in. Don’t eat the batter raw, since raw flour isn’t safe to eat.
Frequently asked questions
Is it safe to microwave a kitchen sponge? Yes, as long as it’s soaking wet and has no metal parts. A dry sponge can catch fire. Let it cool before touching it, and replace it every one to two weeks.
Why does water sometimes explode in the microwave? Plain water heated too long can become superheated, meaning it’s past boiling without bubbling. Moving it or adding something can make it erupt. Heat only as long as needed and leave a wooden stir stick in the cup.
Does a microwave really use less energy than an oven? For small amounts of food, yes. Energy Star says you can save up to 80% of the energy compared with heating the same food in a full-size oven.
Can you dry herbs in the microwave? Yes. Lay clean, dry leaves in one layer between plain white paper towels and heat in short bursts. Avoid recycled paper towels, which may contain bits of metal.
What should you never put in a microwave? Skip foil, metal pans, dishes with metal trim, eggs in the shell, takeout containers not labeled microwave-safe and anything sealed tight, which can build up pressure and burst.
How long should I heat a rice heating pad? About one minute, with a cup of water in the microwave beside it. Test the heat before using it and wrap it in a towel.